

FIELD GUIDE
THE FLOURISH
SHOT LIST GUIDE
A prepares shot list is what seperates a great church photoshoot from a regrettable one. Everything the team needs for a Sunday: the language of shot sizes, the plan for the morning, how many frames to take in each space, and how exposure works.
SHOT SIZE
LANGUAGE
There are four shot sizes with specific names you'll hear used throughout: close, medium, cowboy, and full. How much of a person you include changes what the photo is about — so name the shot before you take it. Avoid cutting at a joint, and leave a person more room on the side they're facing.
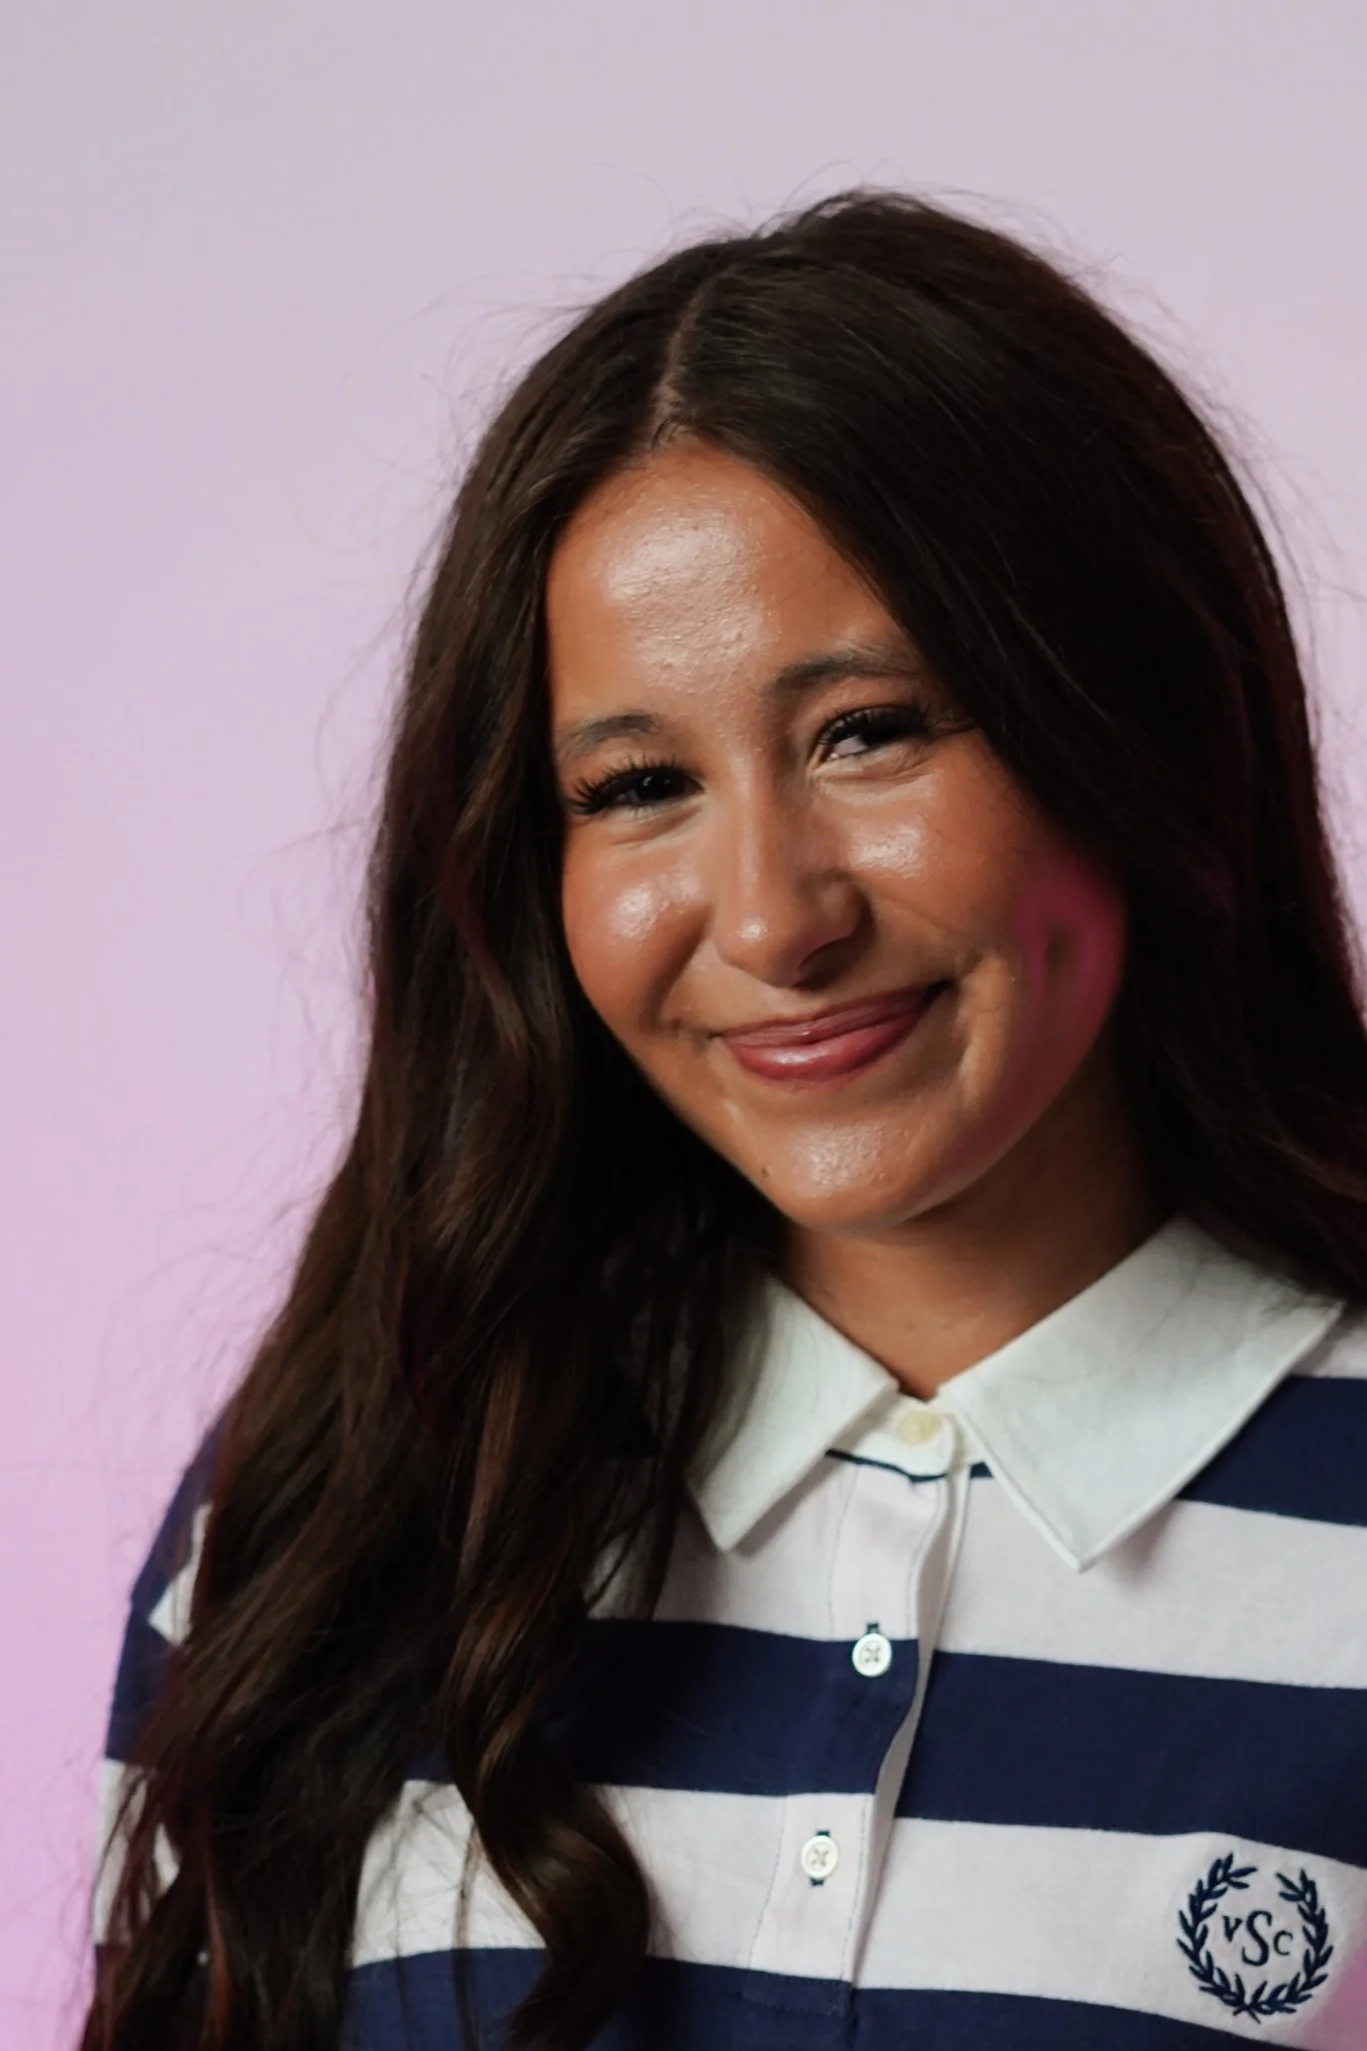
CLOSE
Head and shoulders. All expression, no context.
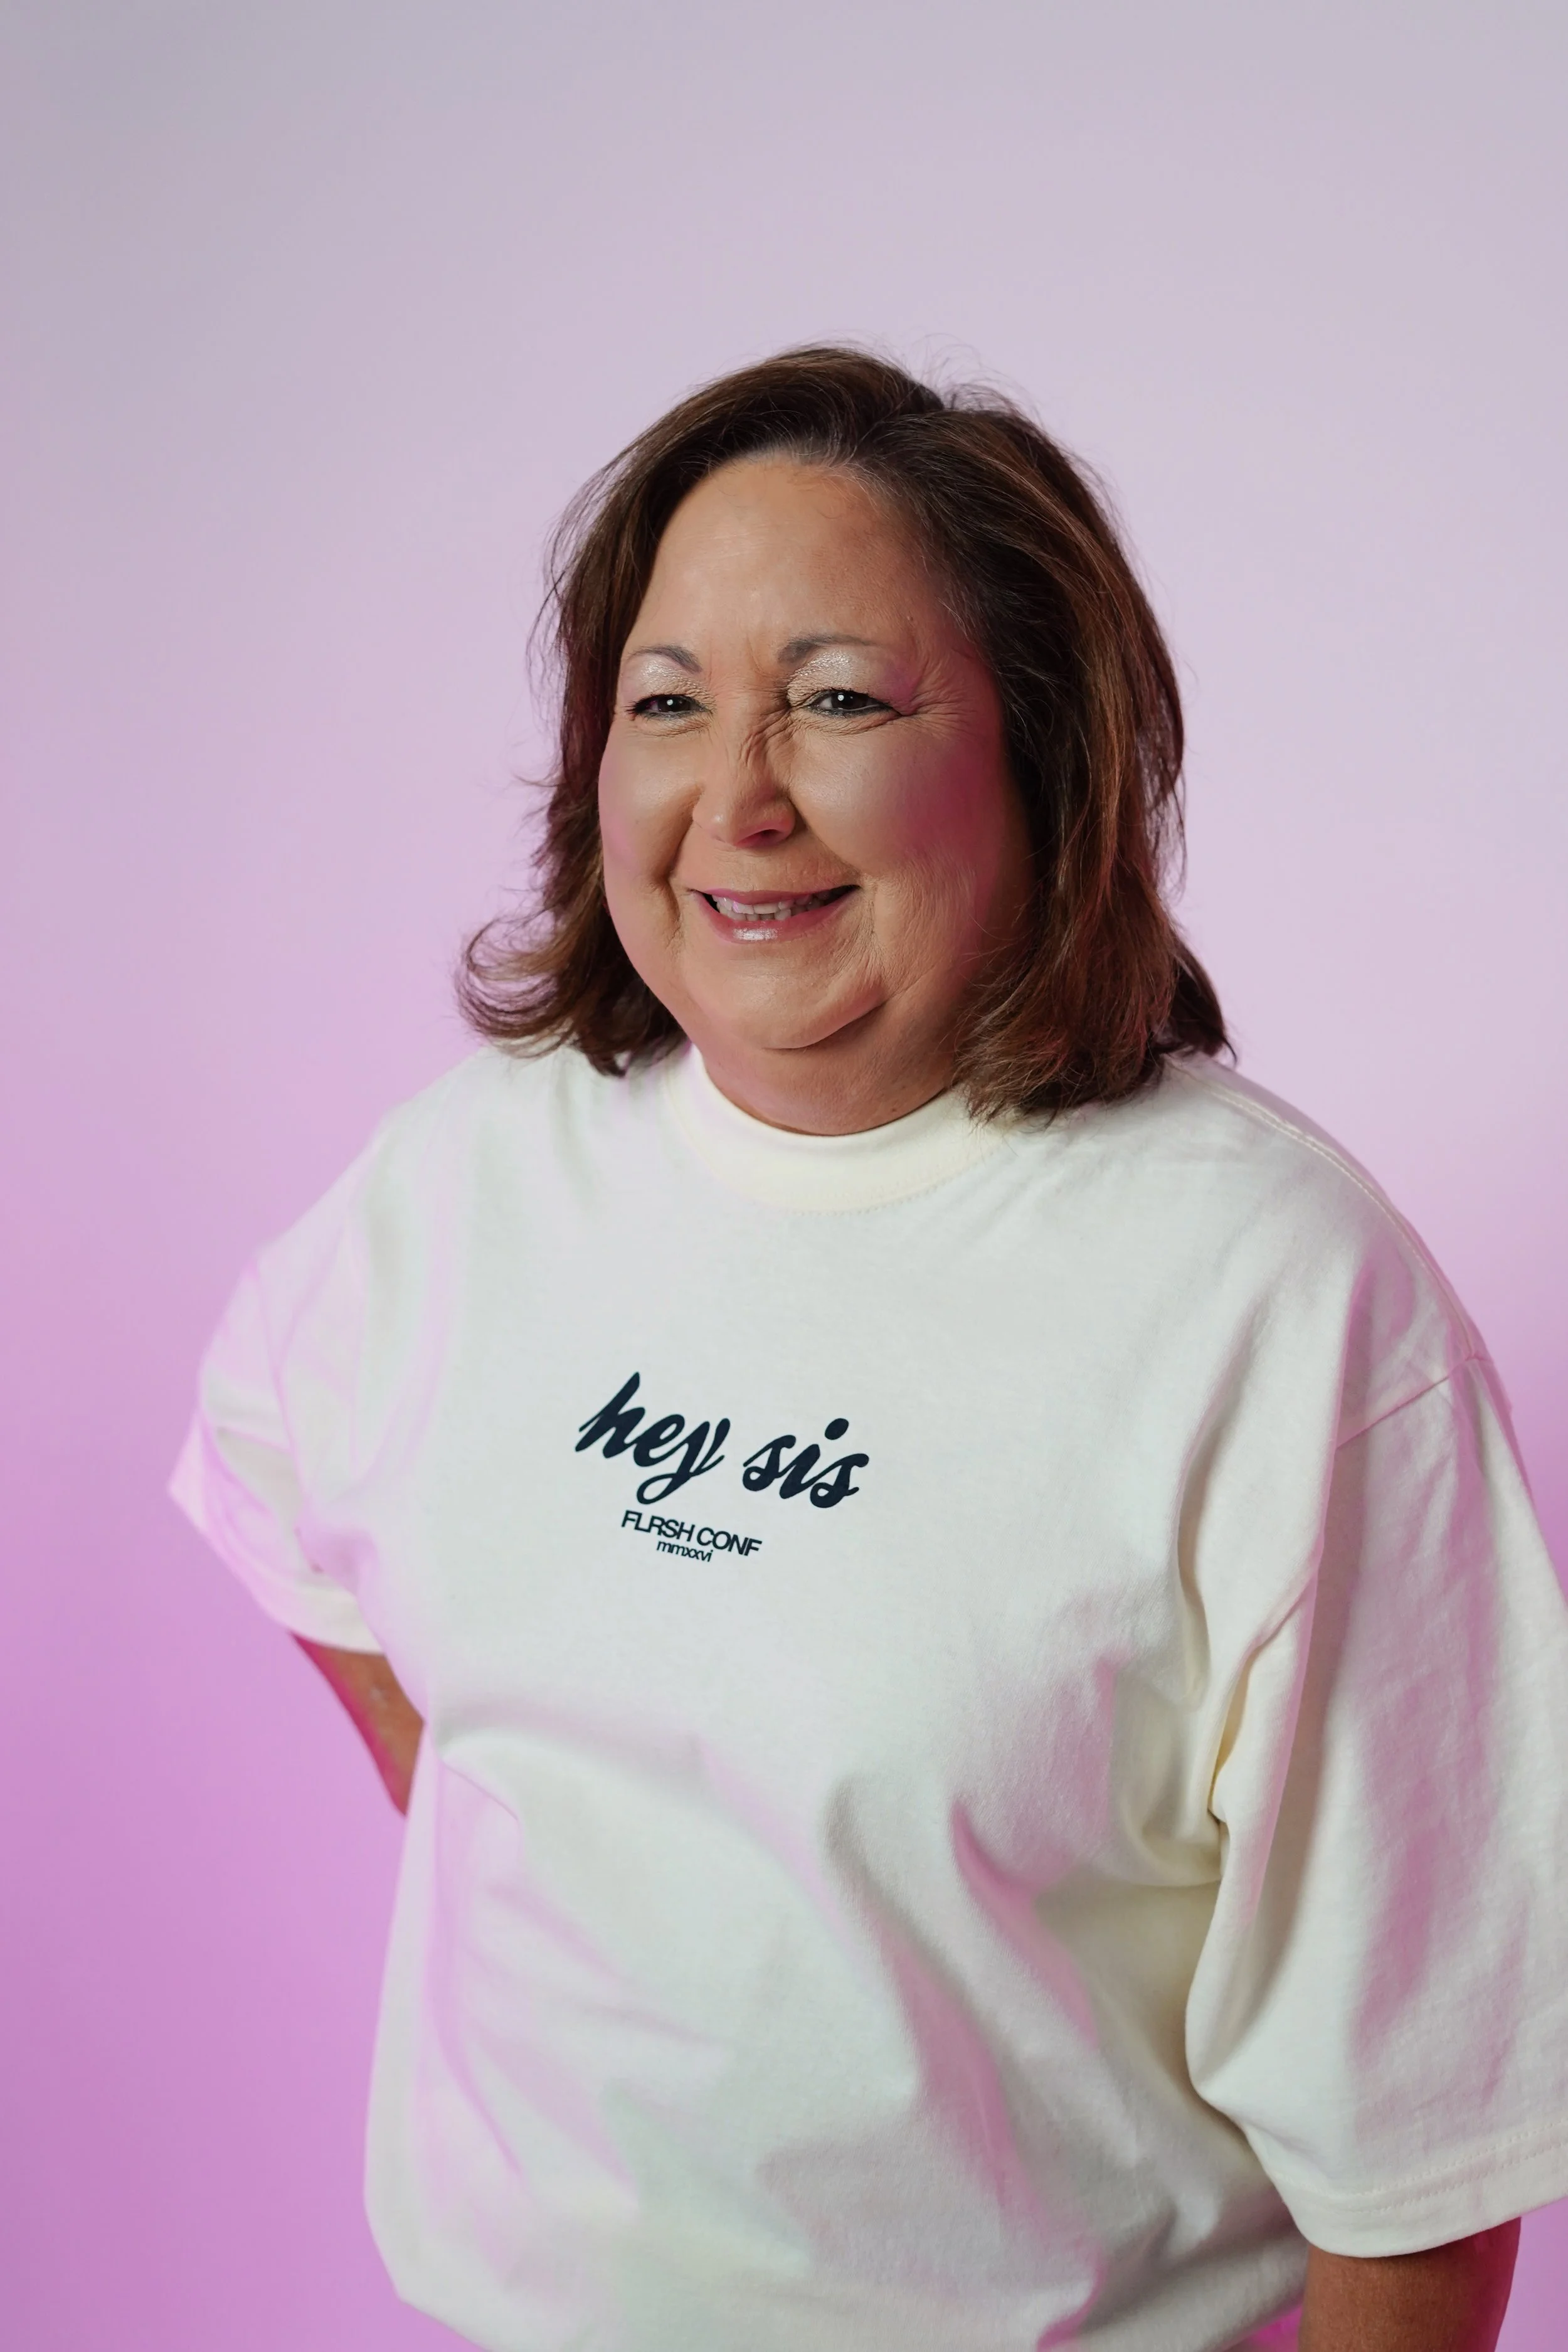
MEDIUM
Waist up. The working shot for conversation and worship.
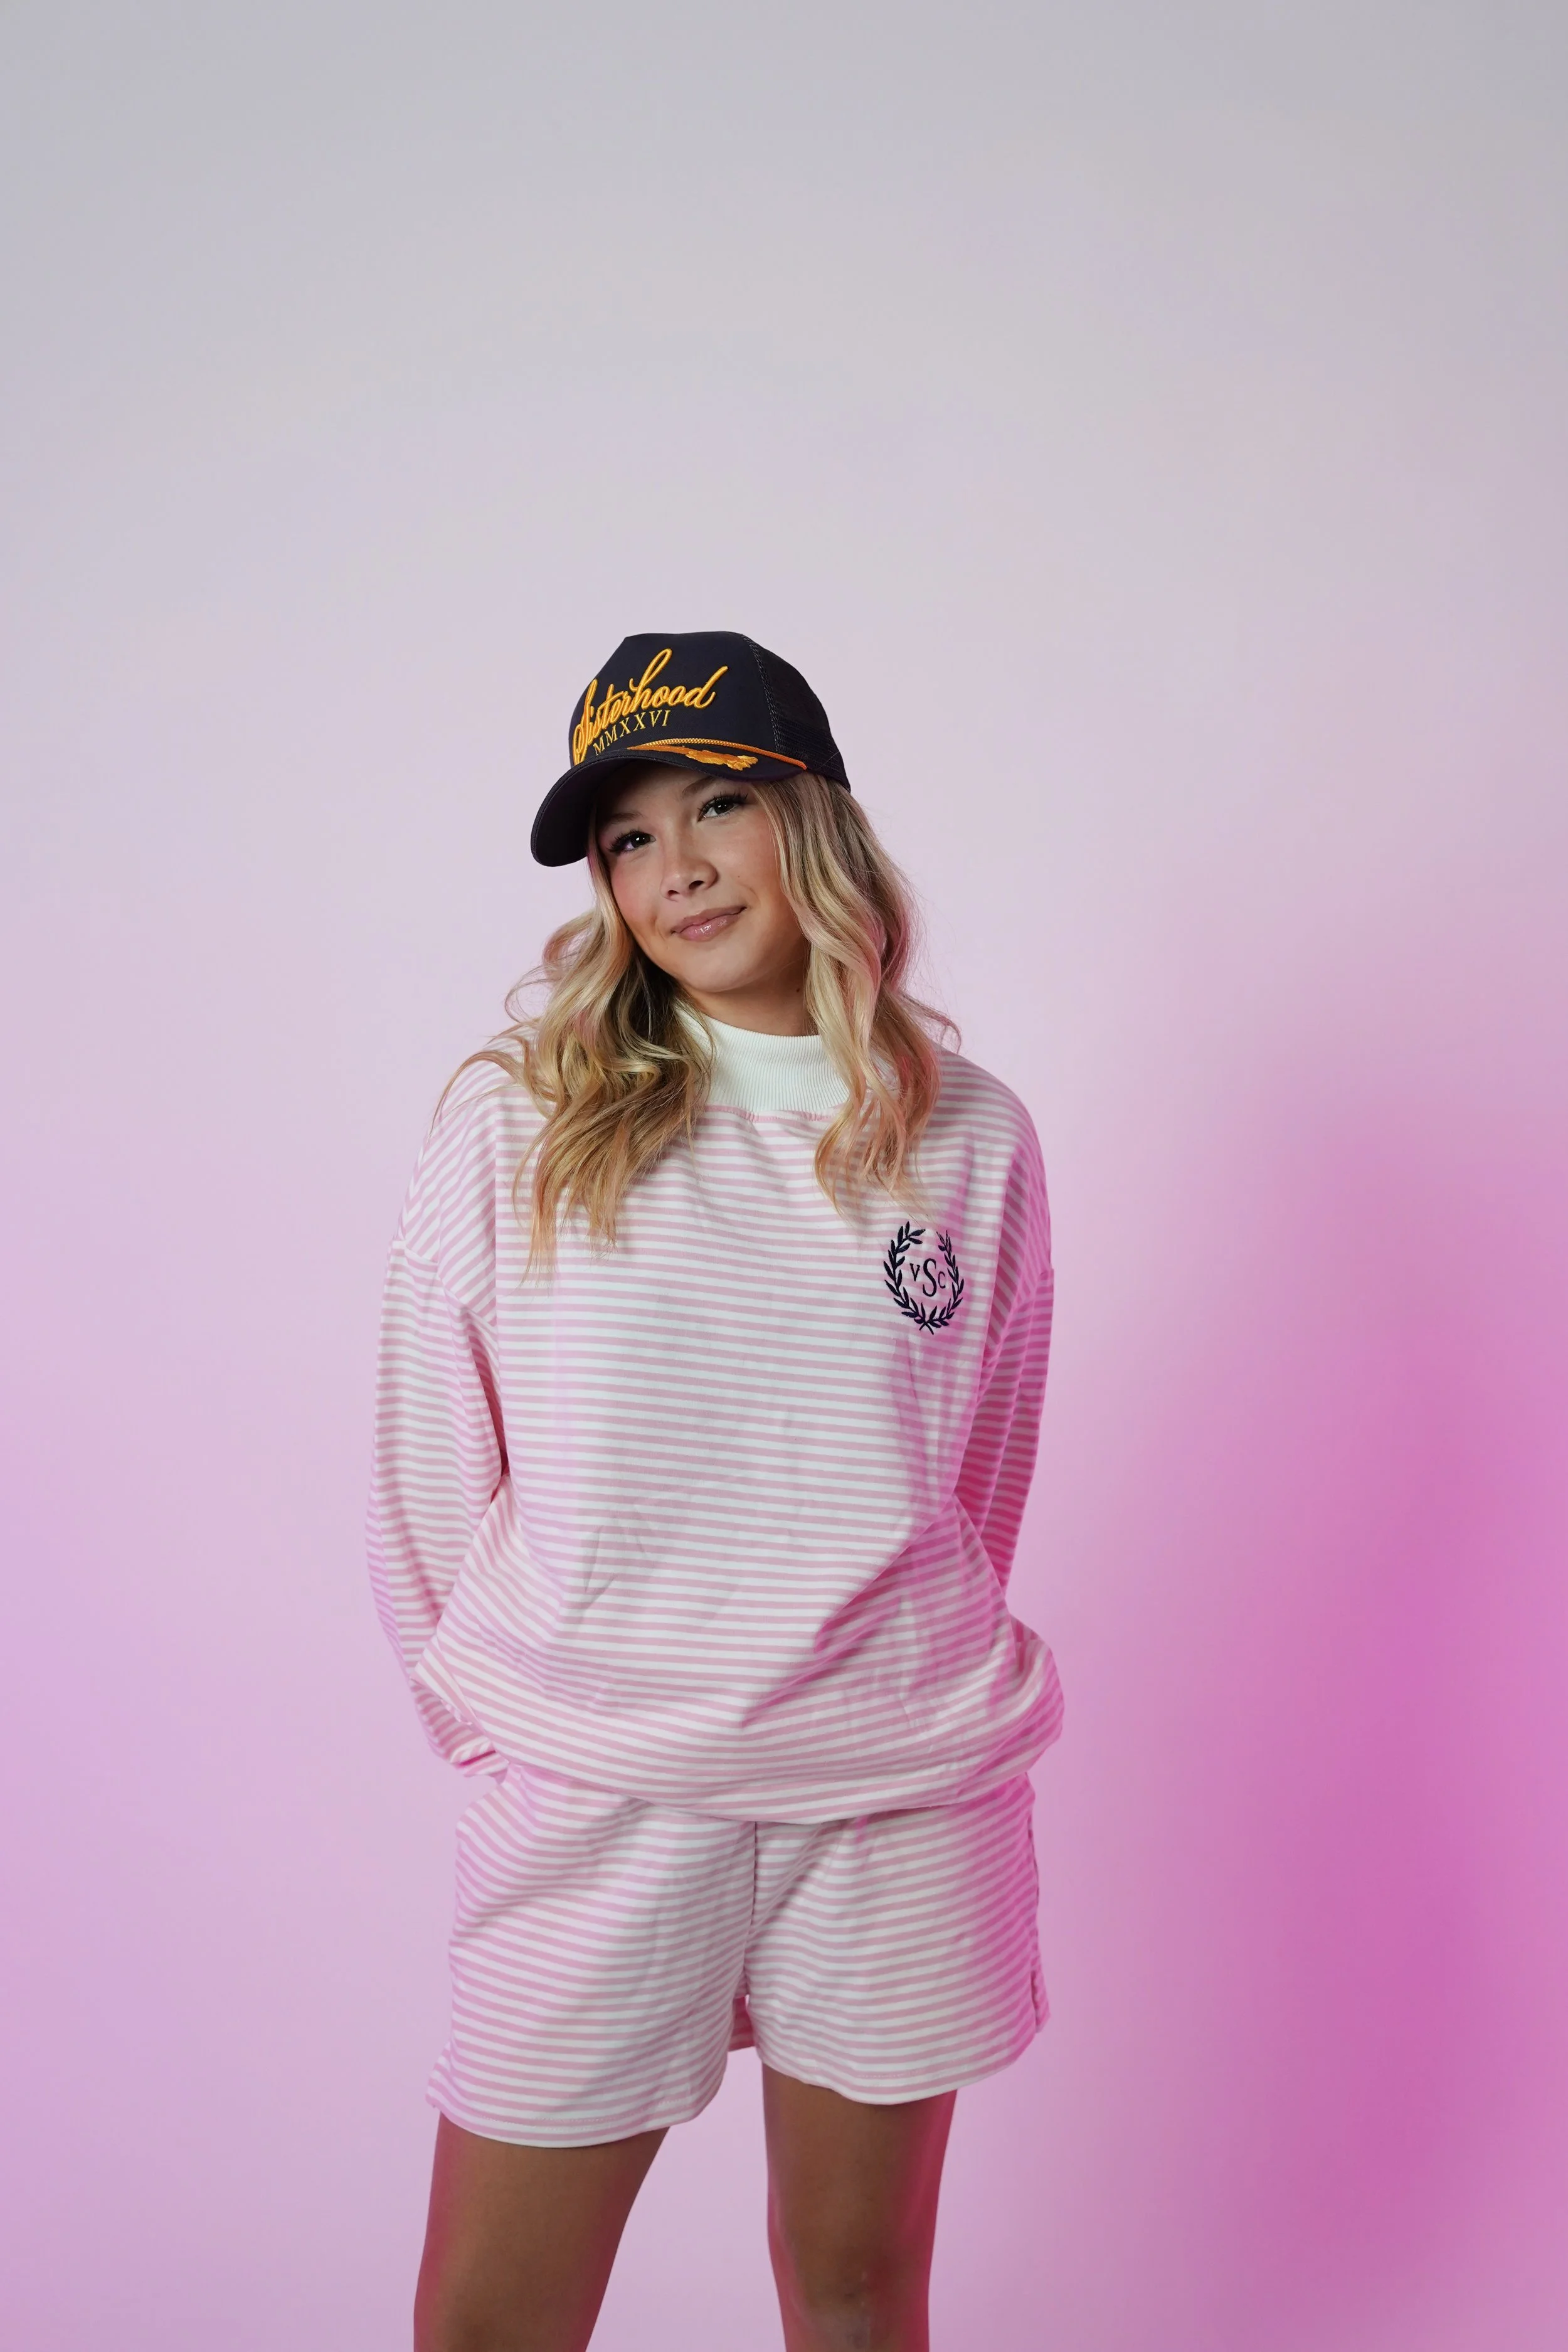
COWBOY
Cut at mid-thigh. Keeps posture and gesture, drops the floor.
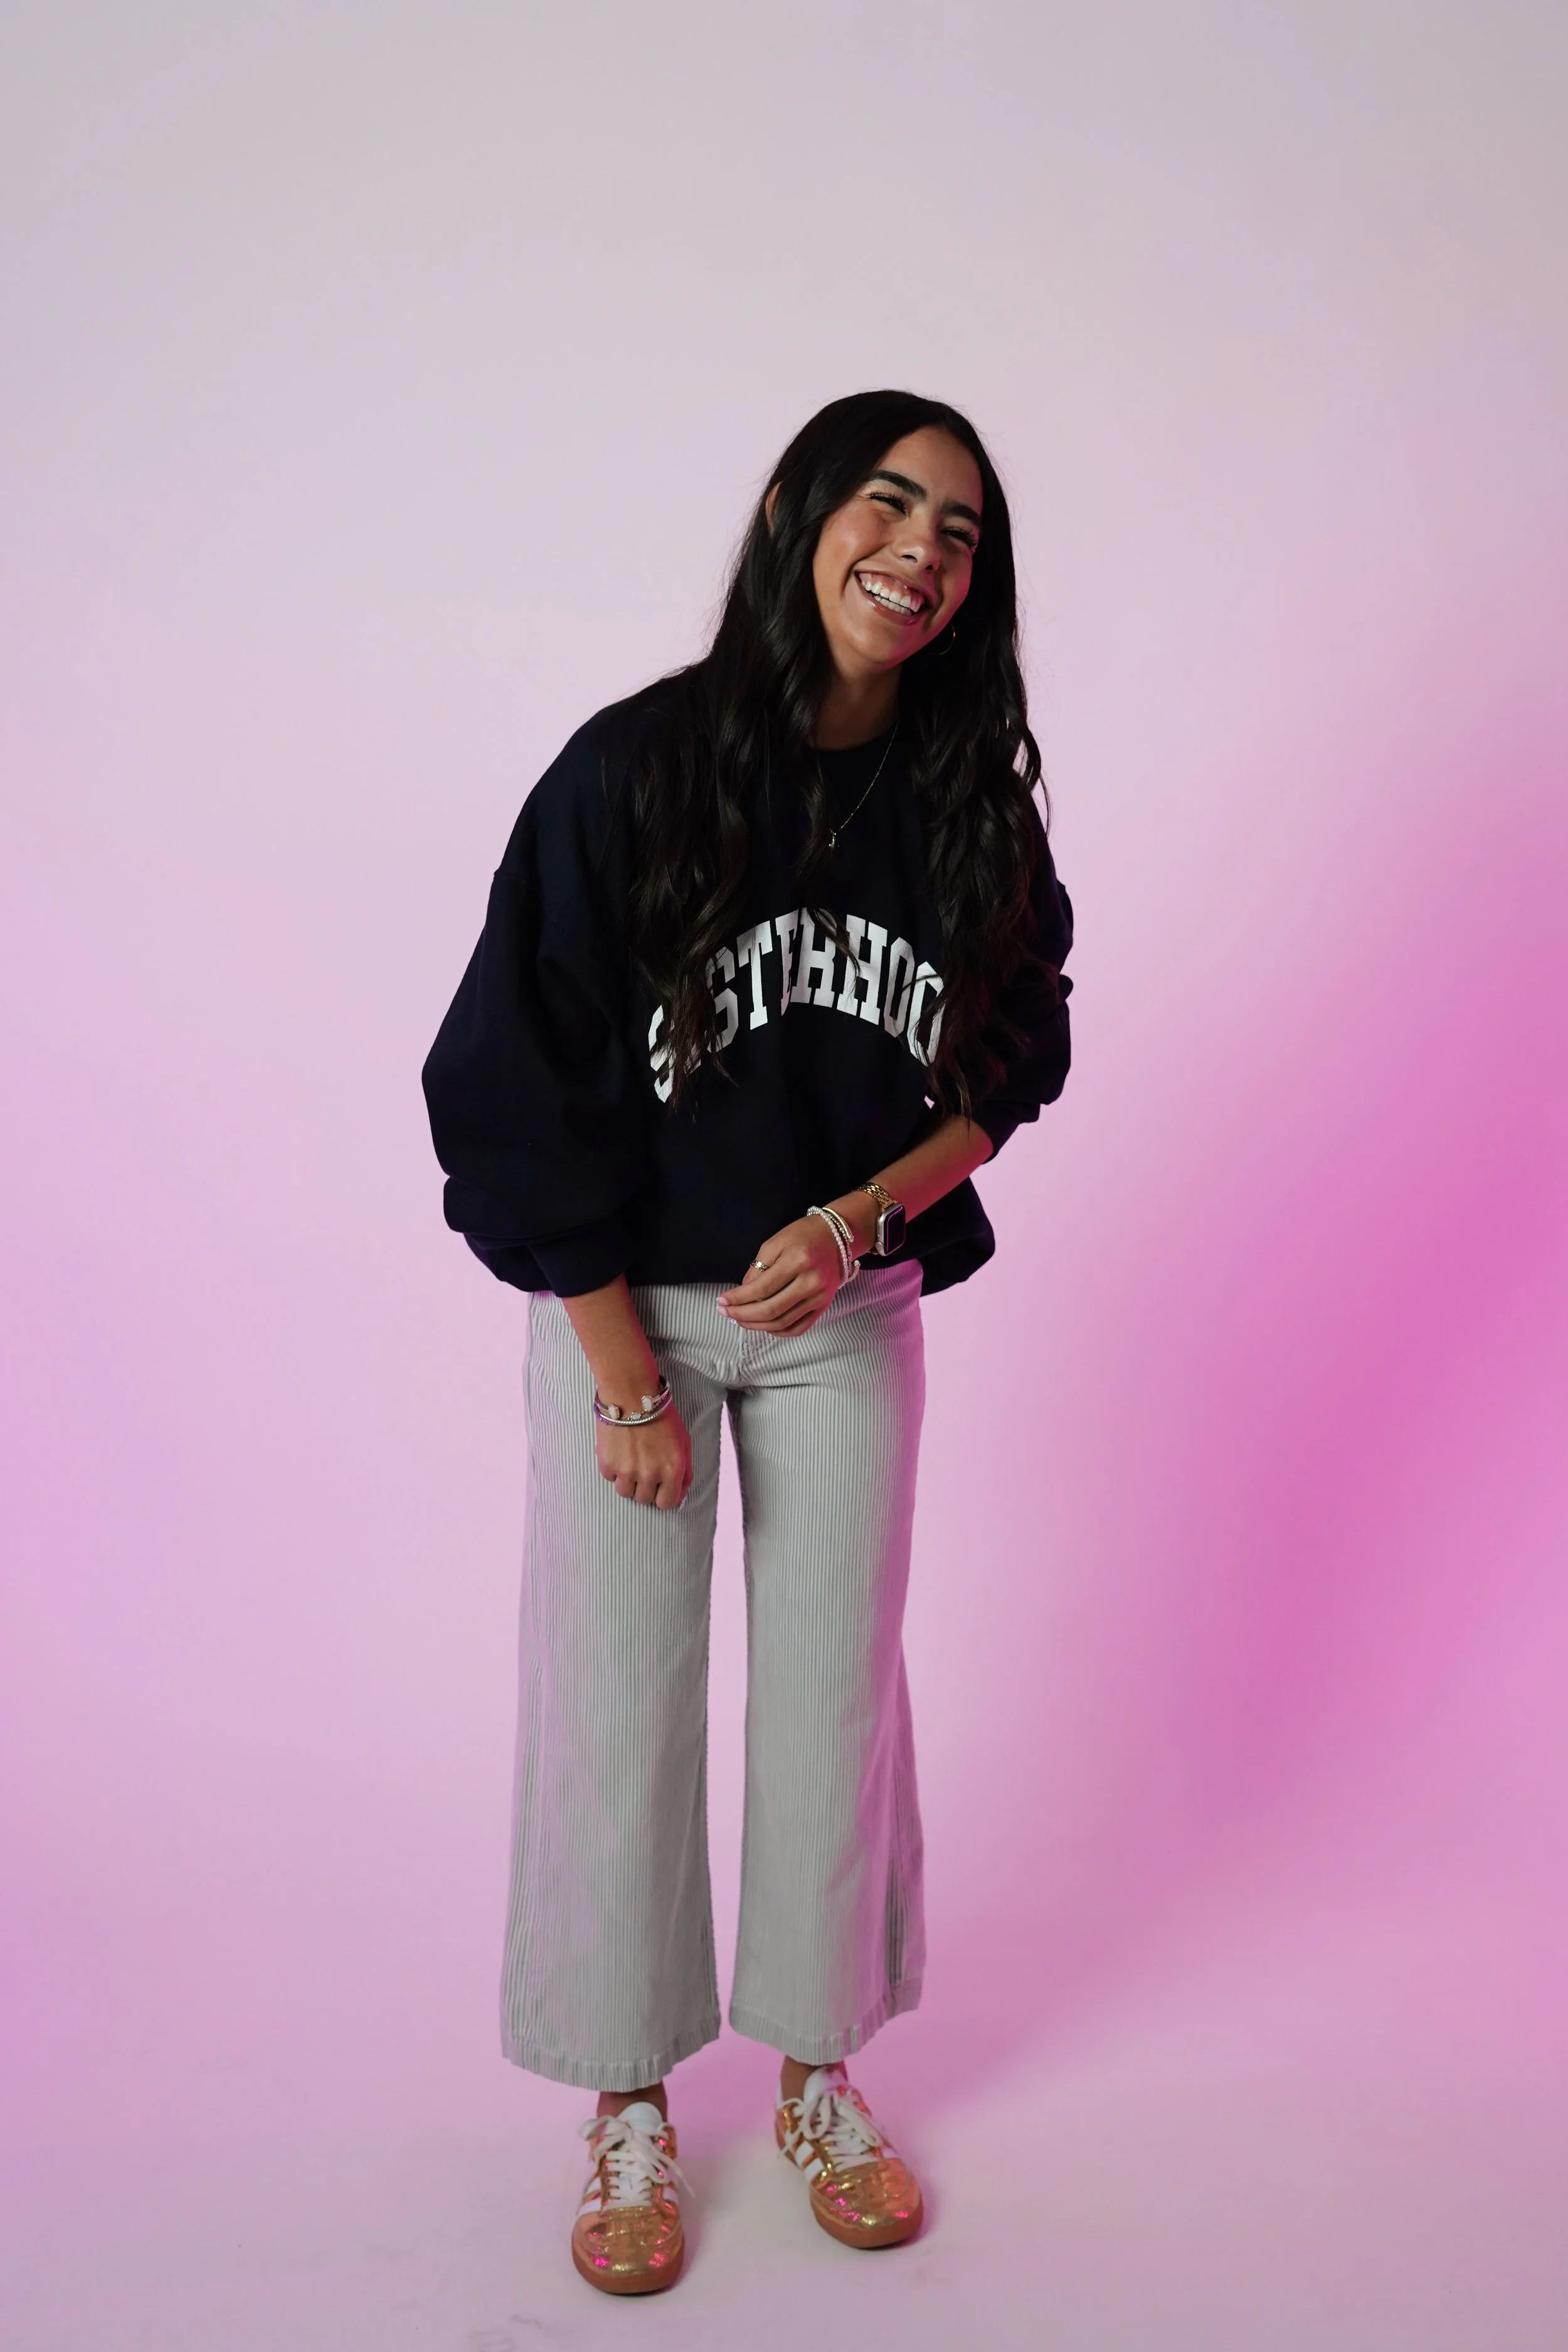
FULL
Head to feet. Shows the whole person and the room they're in.
VARIATIONS
Every shot size can be varied by where you stand and where you hold the camera. Shoot each one, vertical and horizontal.
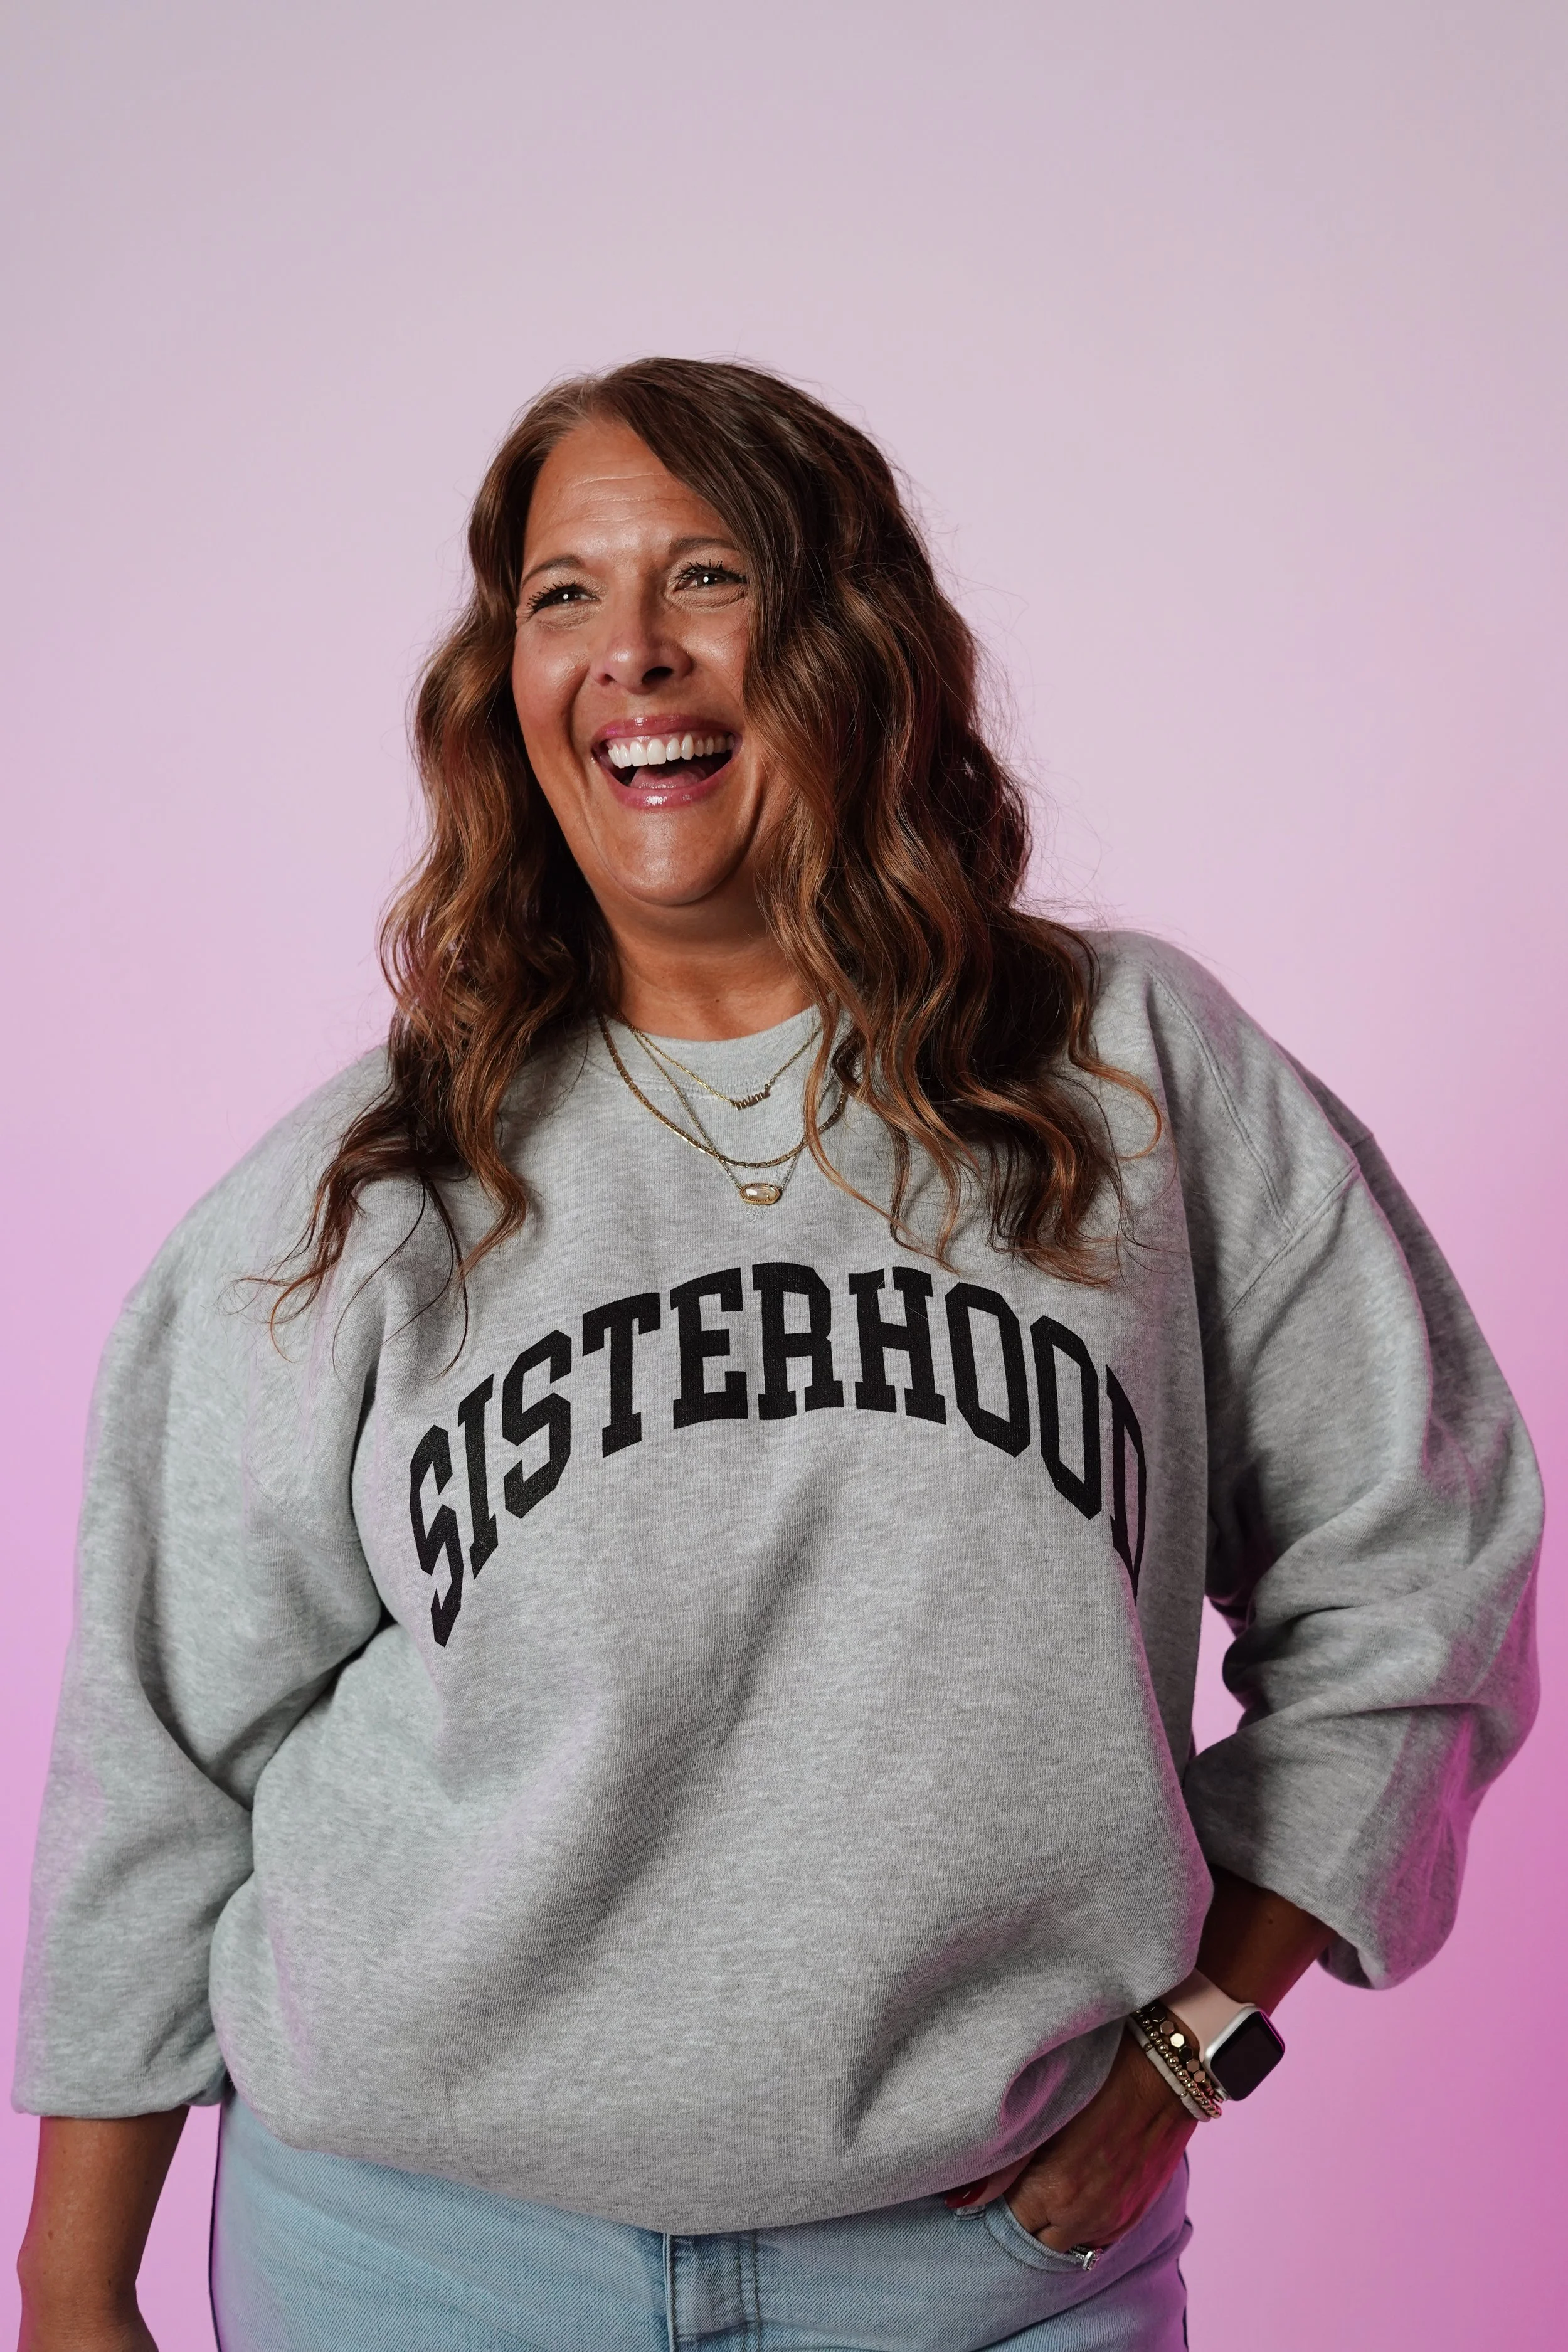
CENTER FLAT
Straight on, camera at the subject's eye height.
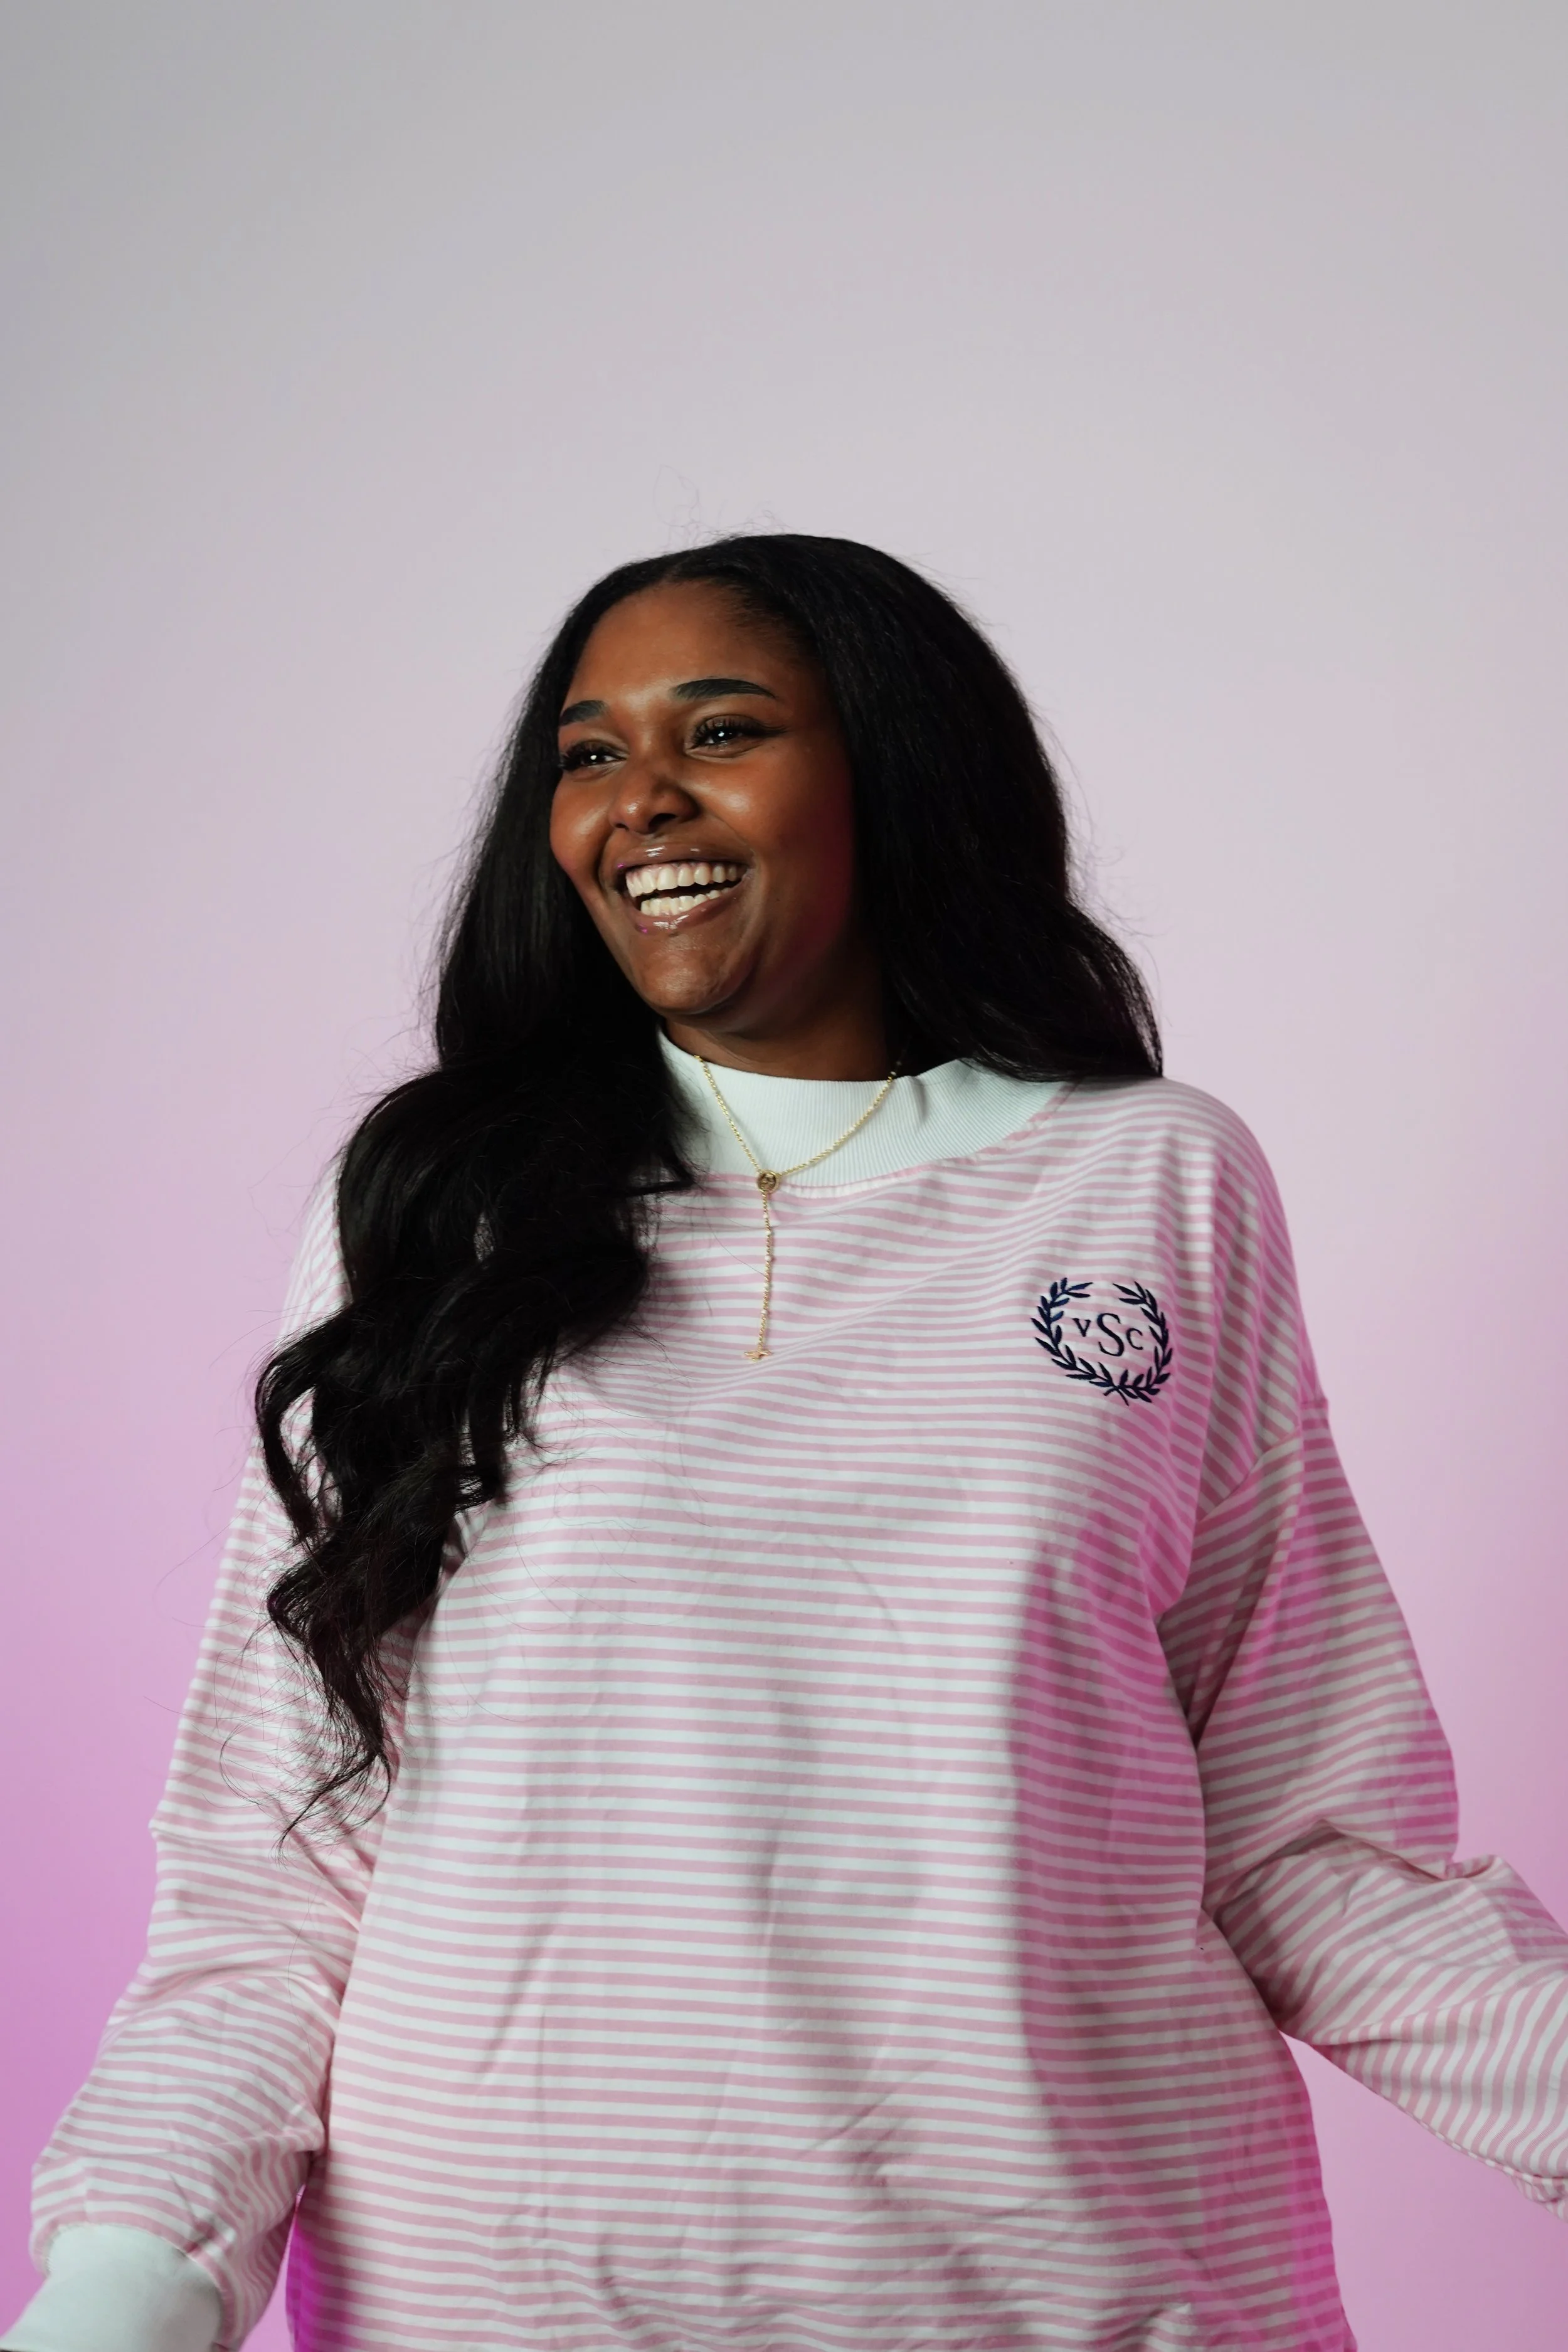
CENTER UP
Straight on, camera low and angled up.

SIDE FLAT
From the side, camera at subject height.
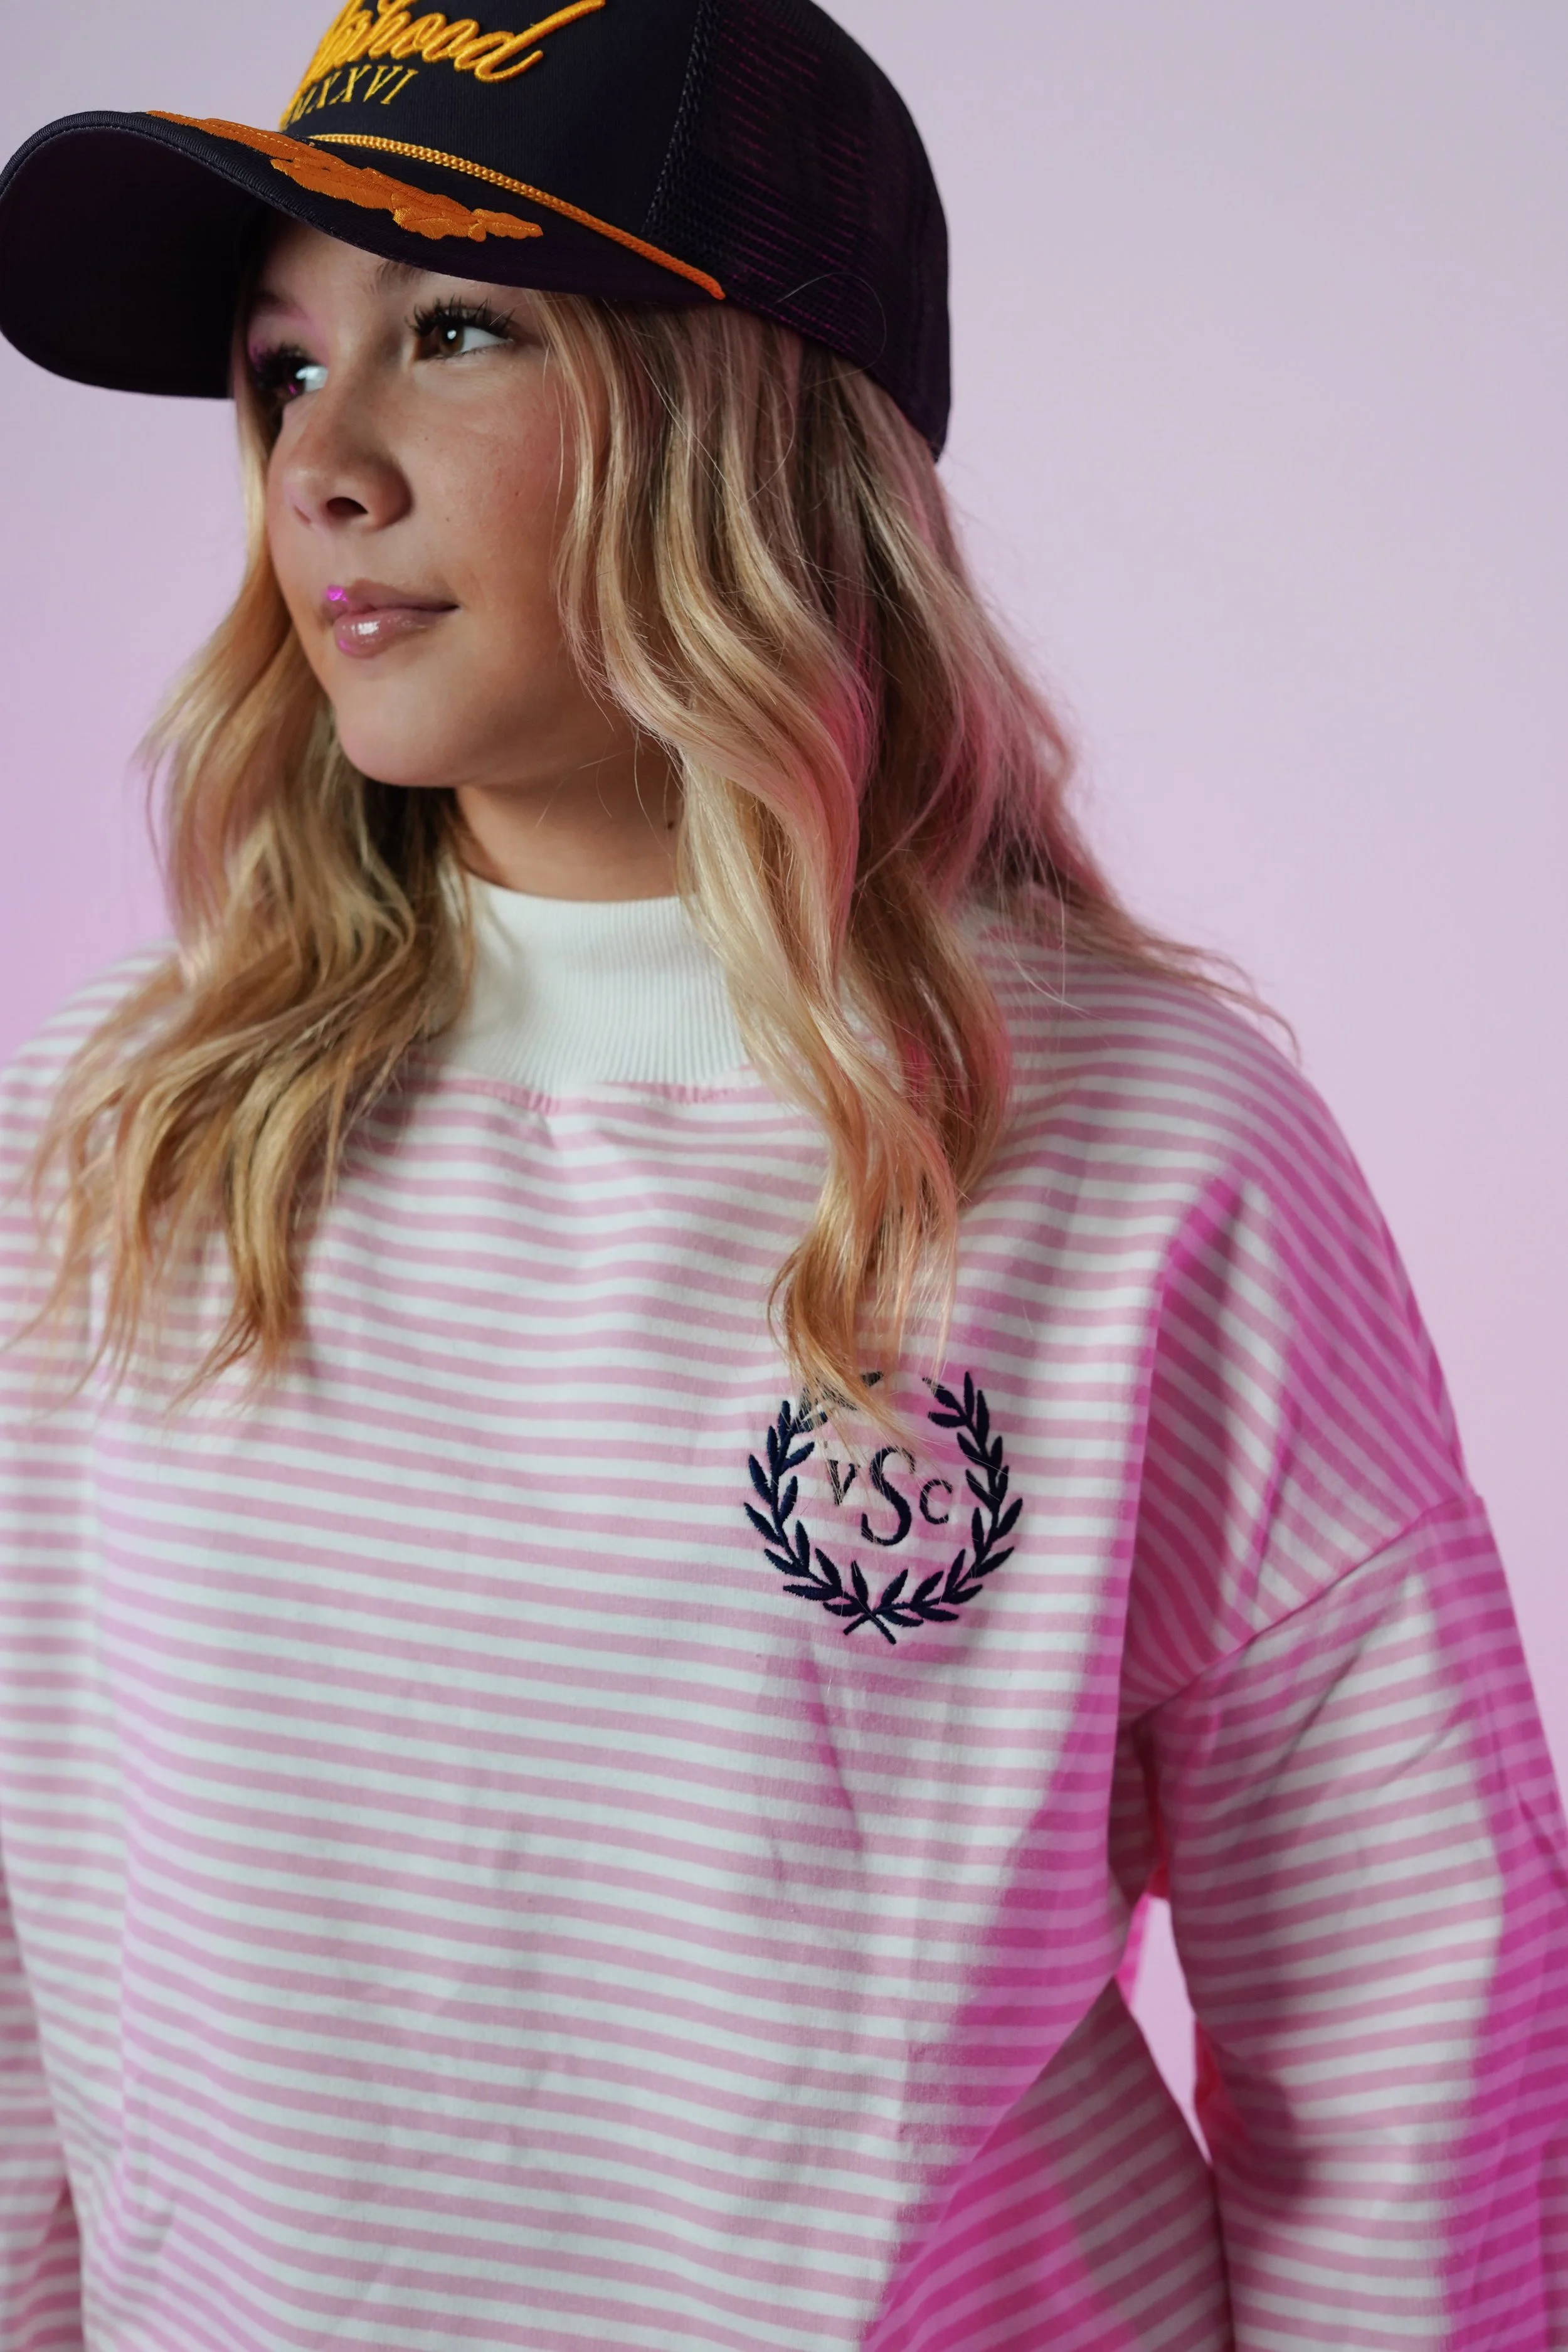
SIDE UP
From the side, camera low and angled up.
MAKING THE PLAN
SIX SPACES, IN ORDER
1. Worship Practice
Start your morning here and capture shots during practice that would otherwise be disruptive during service.
2. Registration
As people begin arriving at conference, stay close to the greeters and capture organic interactions.
3. Lobby
Move to the lobby as people mingle before sessions begin. The ladies are the focus, get some good shots here.
4. Sanctuary
As sessions start, head in the sanctuary to capture worship and the beginning of the speaker’s message.
5. Campus
After you've grabbed a few shots of speaker, head out to the other areas on-site (food, outdoors, etc.).
6. Detail
Finally, capture detail shots around the campus (merch, signage, textures, etc.).
EXTRA Shots
1. Several photos of women serving/setting up for conference on Thursday and Friday
2. Pastor Elisa and the Flourish Lead Team
3. Ps Elisa and the Flourish Serve Team
4. Ps Elisa and Guest Speakers
5. Ps Shawn and Ps Elisa
6. Ps Shawn, Ps Elisa, Guest Speakers and Husbands
7. Ps Shawn, Ps Elisa and Worship Team
8. Ps Elisa and Female Staff
9. Ps Elisa, Female Staff, and Daughters
10. Ps Elisa, Female Staff and Female Staff Spouses
11. All Staff
12. Ps Shawn and Guest Speaker Husbands
RULE 01
THE 5X RULE
For every five photos you take, the objective is that one is usable. Expect to take underwhelming photos.
RULE 02
VERTICAL + HORIZONTAL
There's nothing more frustrating than needing the other orientation on a photo but not having it. Always shoot both.
THE SHOT LIST
340-440 FRAMES
-
Center Flat
-
Center Flat
-
Center/Side · Flat/Up
-
Center/Side · Flat/Up
-
Center/Side · Flat/Up
-
Center/Side · Flat/Up
1. WORSHIP | 100 SHOTS
All shots below should be done for each person on stage, with both vertical and horizontal options.
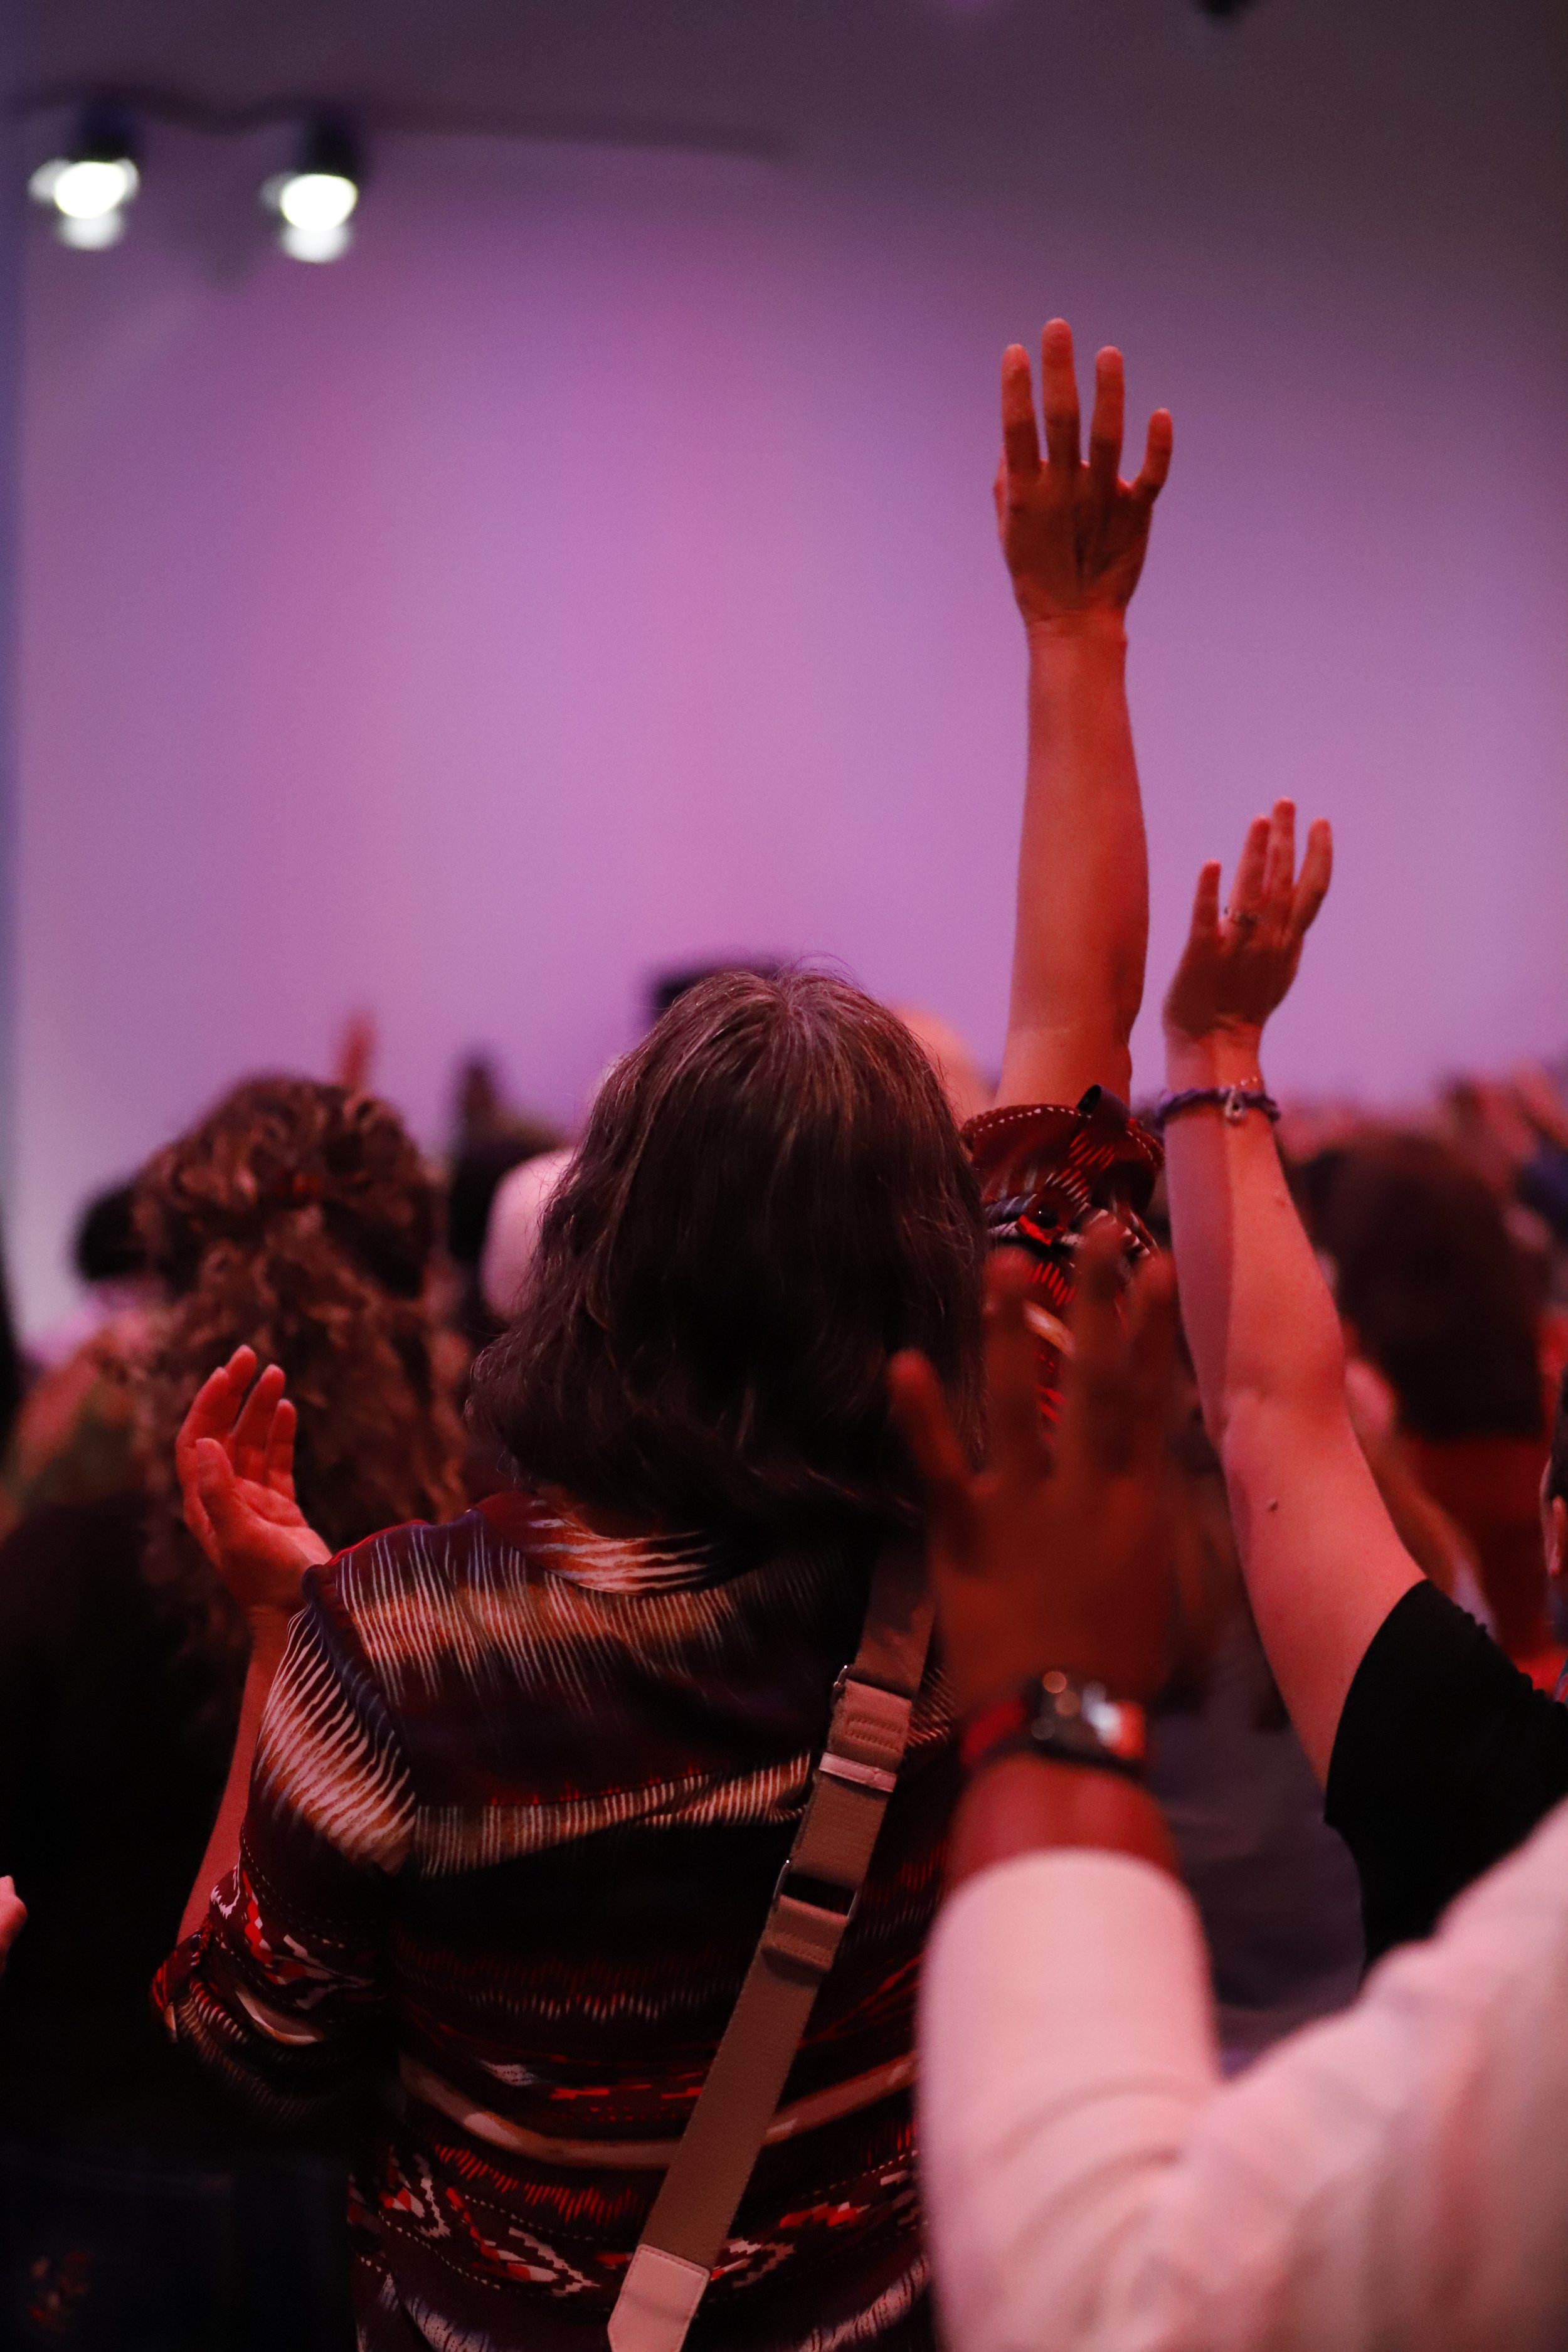
FULL · CENTER FLAT
-
10
-
10
-
10
-
10
-
5
-
5
2. GREETERS | 50 SHOTS
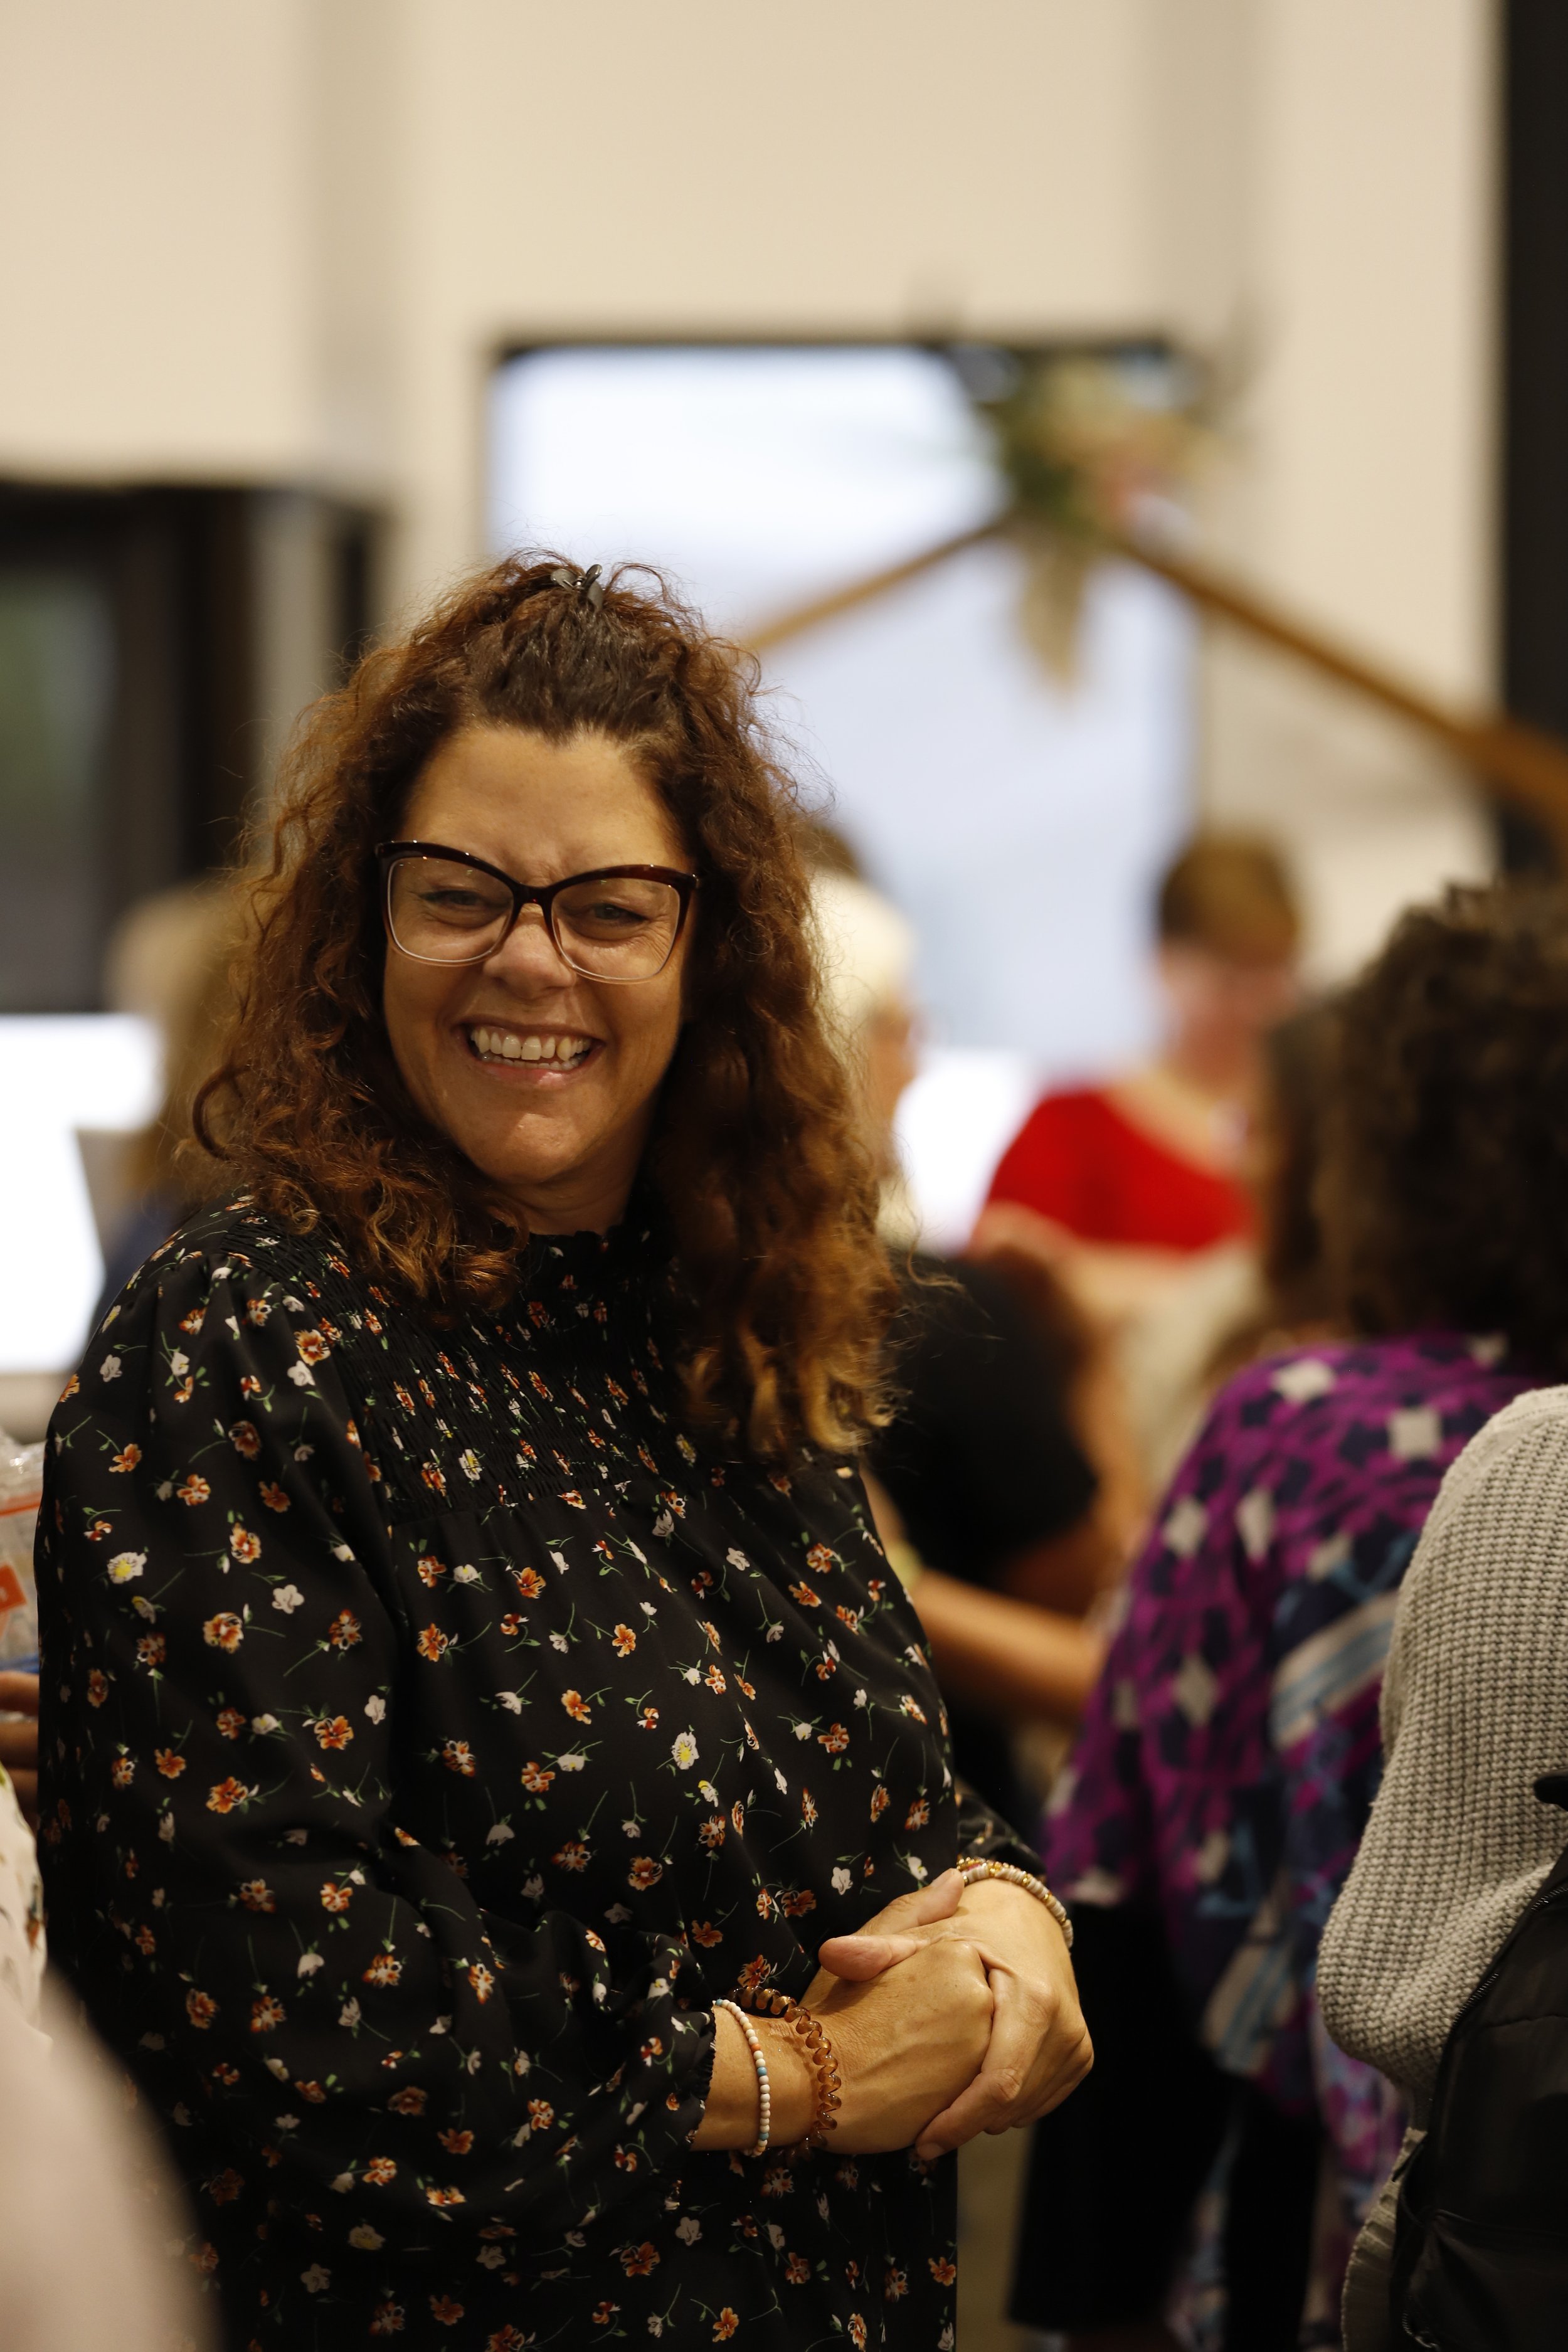
SMILES ARE KEY
-
10
-
10
-
10
-
10
-
5
-
5
3. LOBBY | 50 SHOTS

JOY IN THE HOUSE
-
10
-
10
-
10
-
10
-
5
-
5
4. SANCTUARY | 50 SHOTS
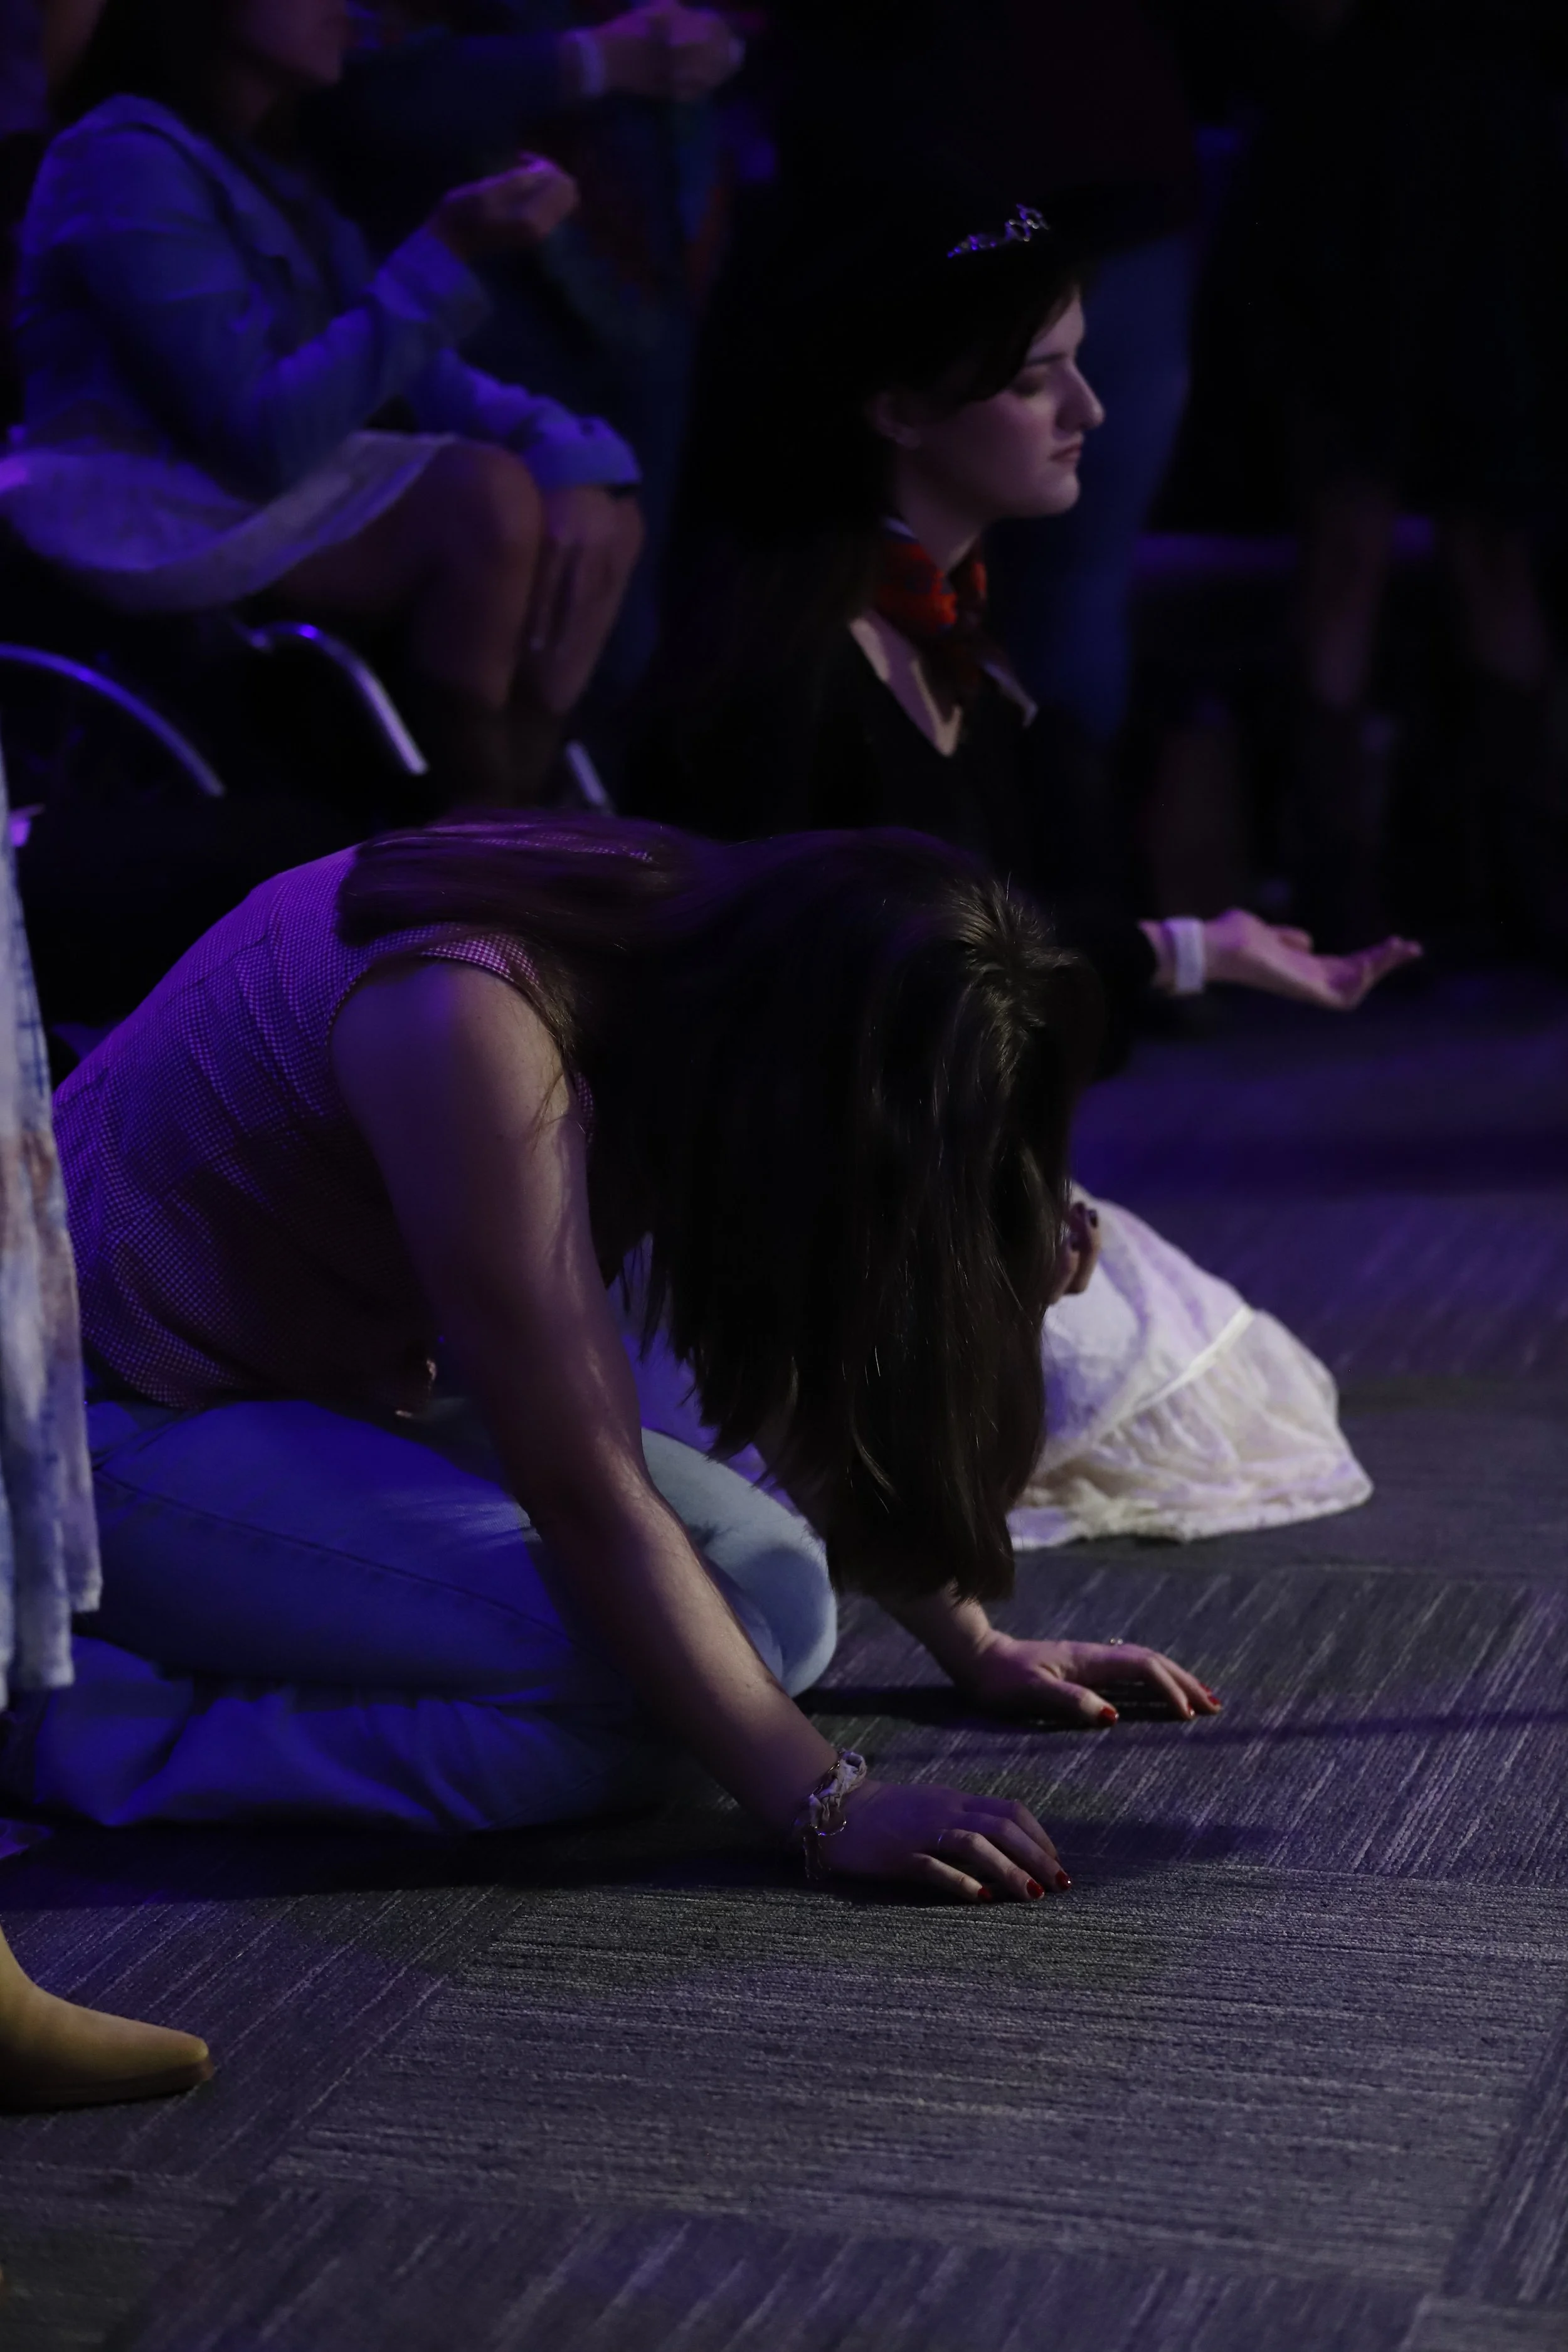
EVERY PRAISE LIFTED
-
10
-
10
-
10
-
10
-
5
-
5
5. CAMPUS | 50 SHOTS
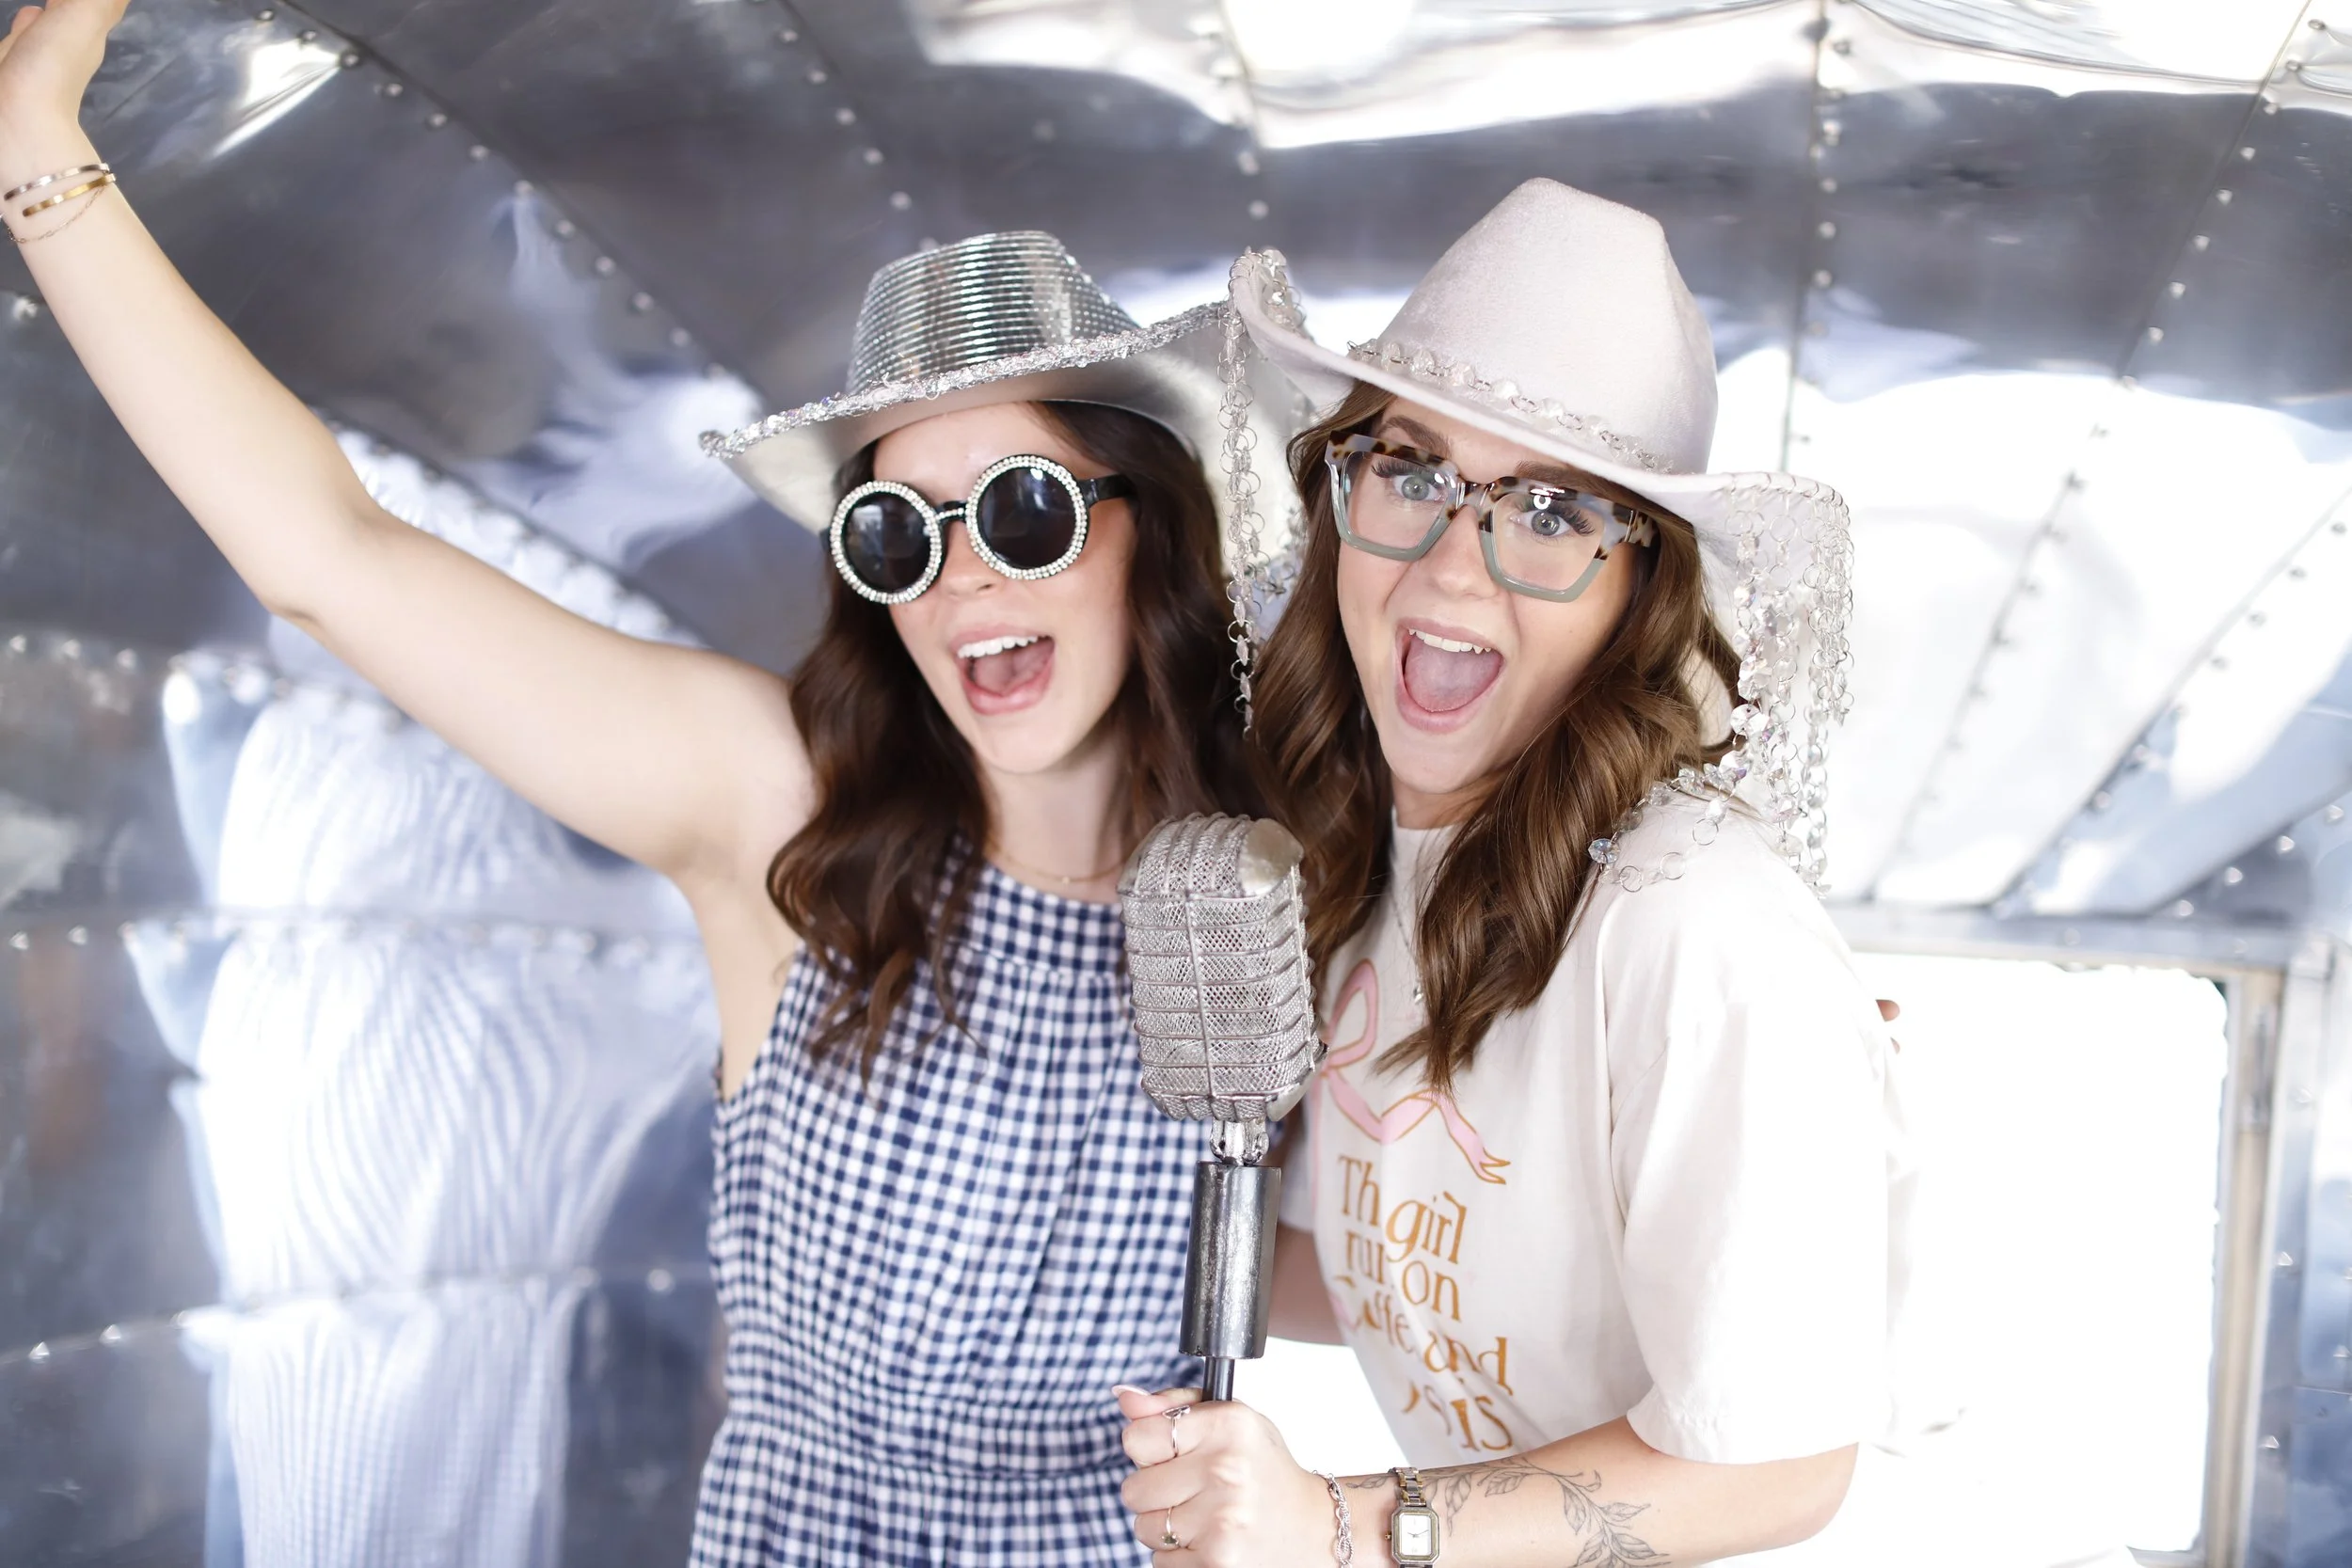
COMING AND GOING
-
10
-
10
-
10
-
10
-
5
-
5
6. DETAIL | 40 SHOTS
Kid's toys, signage, textures. These are the frames that fill out a design later.

UP CLOSE AND PERSONAL
THE EXPOSURE TRIANGLE
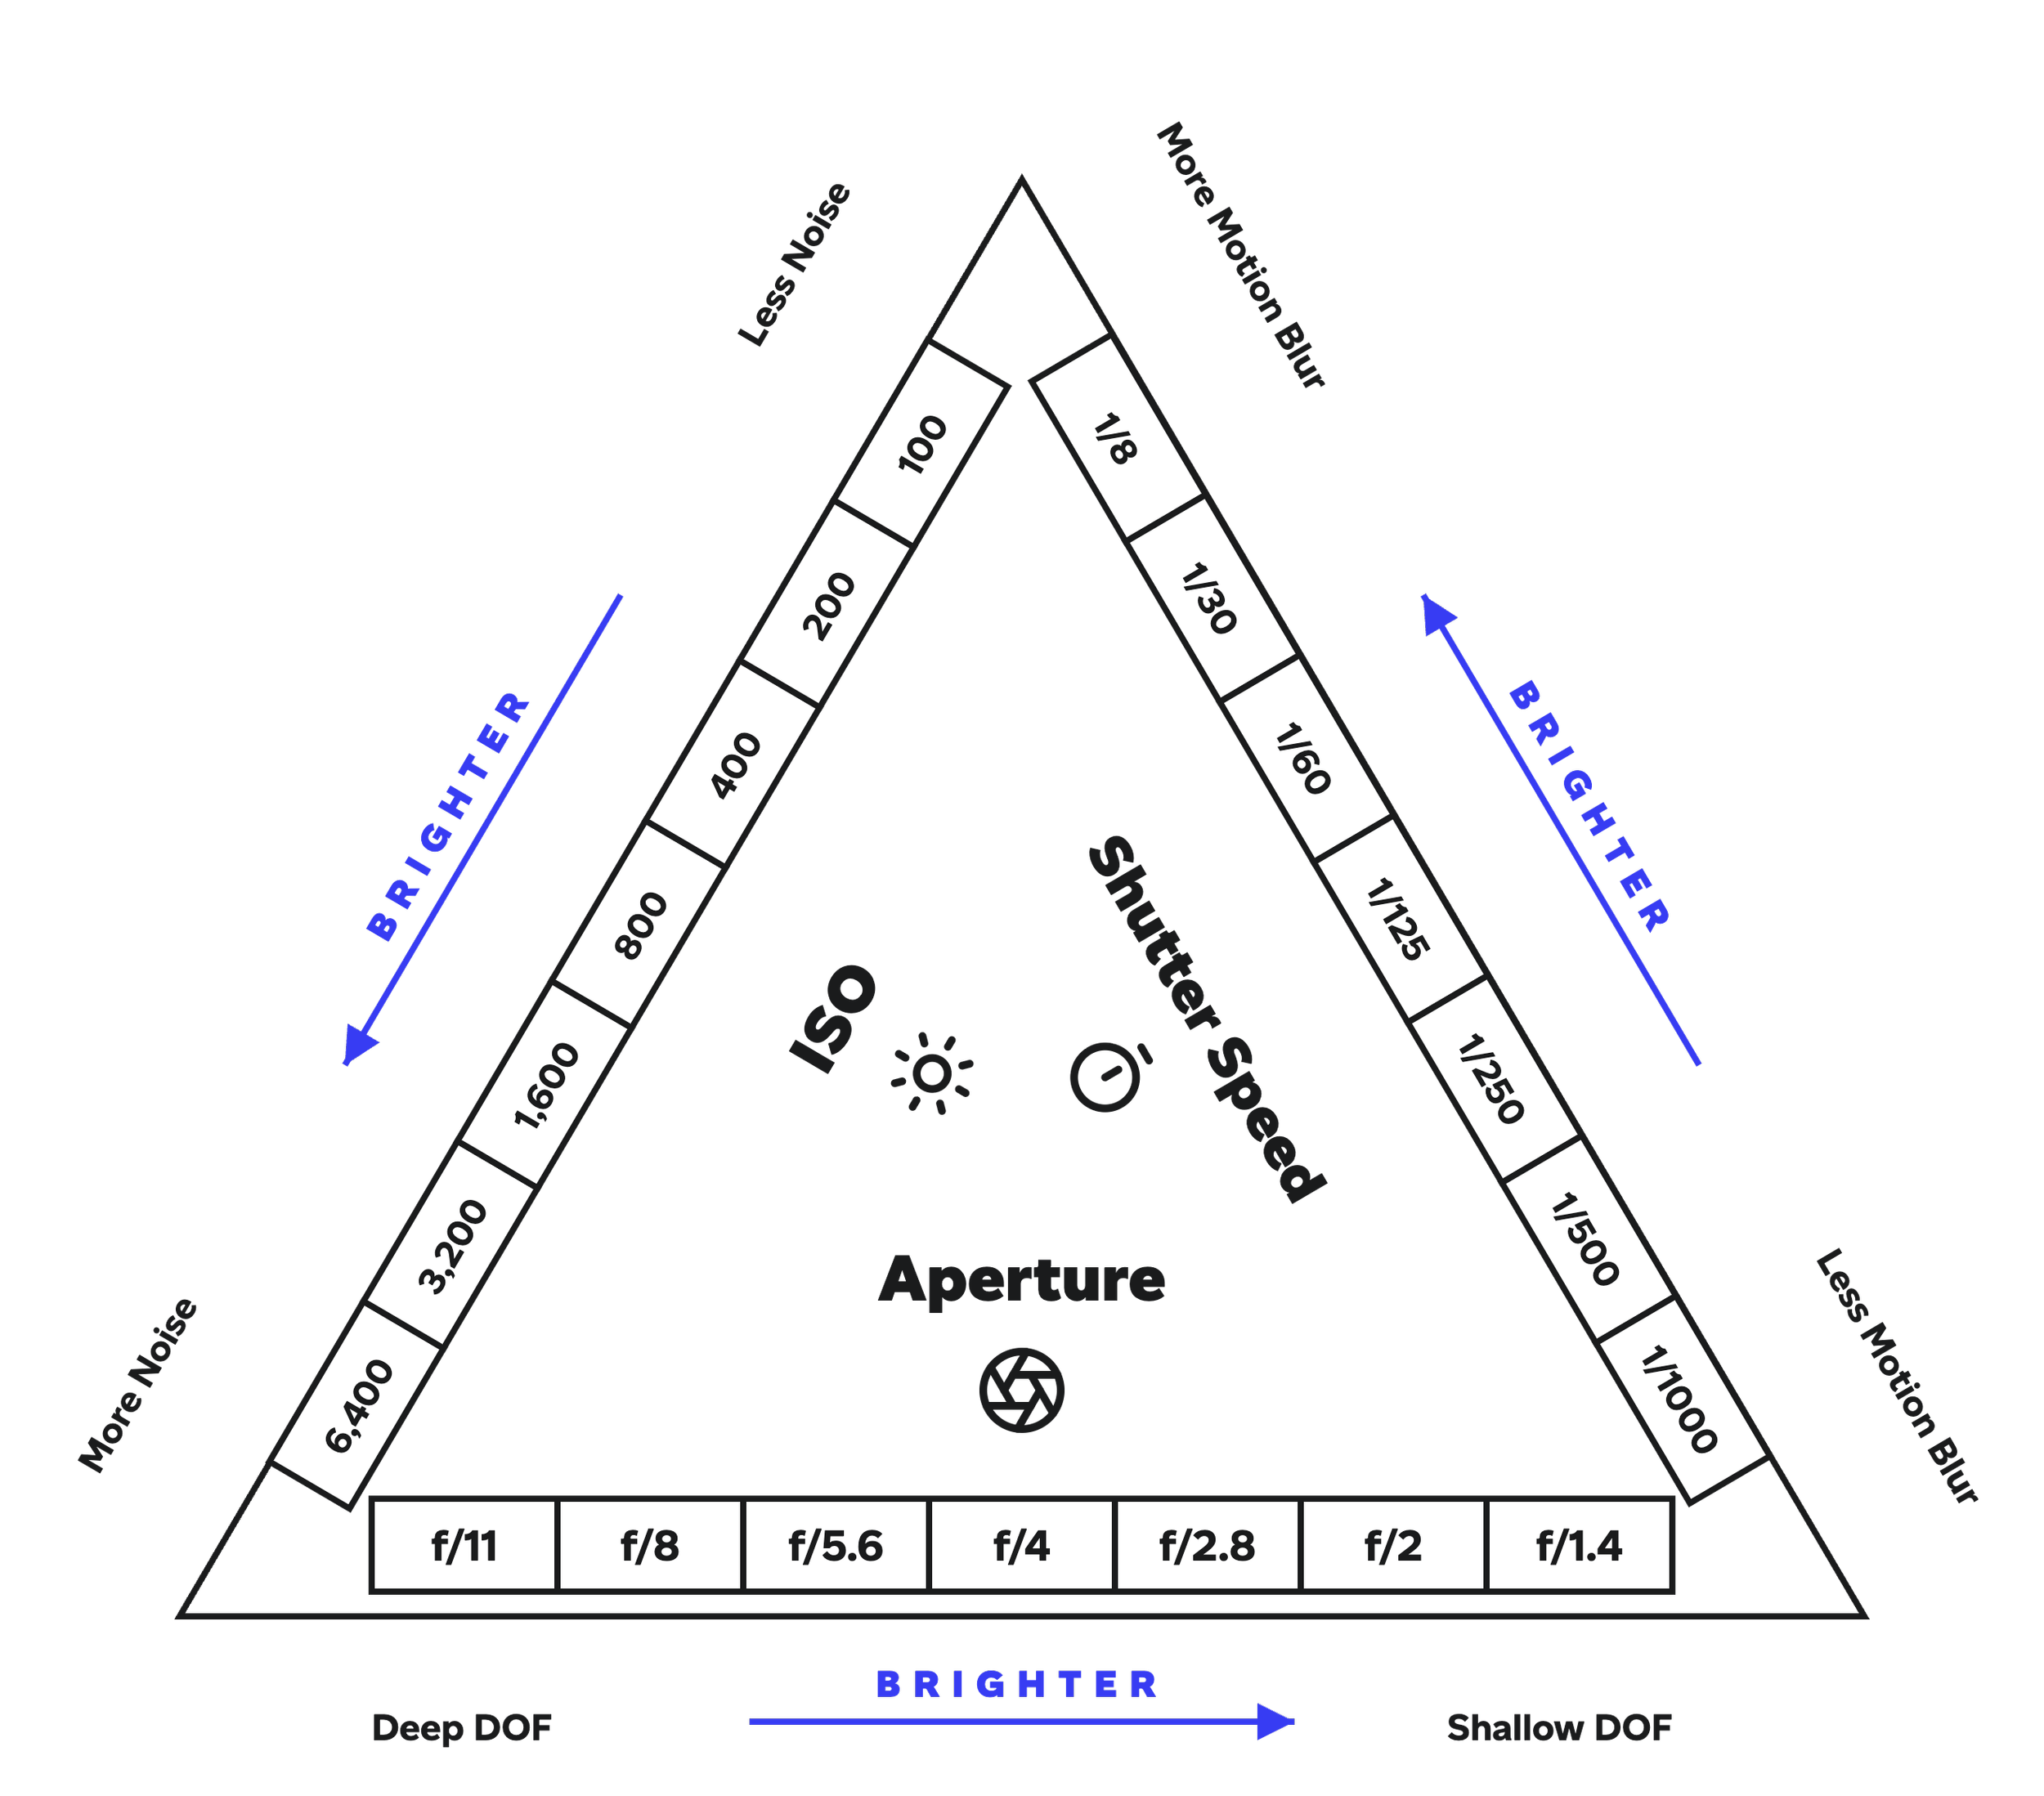
Three controls set how bright a photo is, and they only work together. Each side of the triangle runs from darker to brighter — move one side toward brighter and you either bring another side back, or the photo gets brighter. Every step you take costs something on that side.
CHEAT SHEET
APERTURE
Brighter means a shallower depth of field. f/11 keeps a room sharp; f/1.4 isolates one face.
SHUTTER SPEED
Brighter means more motion blur. Stay at 1/250 or faster for a band; slower only if nothing moves.
ISO
Brighter means more noise. Raise it last, and accept some grain over a blurred frame.
TIP
In a dark room, spend in this order: open the aperture first, then raise ISO, and only drop shutter speed below 1/125 if nothing is moving.
A prepared shot list is what separates a great church photoshoot from a regrettable one.
Bookmark the guide, pin it in the browser, and work the list in order. Shoot both orientations every time.